AI Background Removal & Replacement: Clean Cutouts Without Photoshop (2026)
October 20, 2026
🔞 18+ Only: This guide covers AI image editing for adult content. All examples describe fictional adult characters. You must be of legal adult age in your jurisdiction to use these tools.
You generated a perfect character — and a terrible background. A cluttered room behind her. A photobomber at the edge. The wrong mood entirely: neon club energy when you wanted a quiet beach at dusk. Ten years ago this meant an hour in Photoshop with the pen tool. Today, AI background removal and replacement does the cutout in seconds — and does a better job on hair than most humans ever managed.
This guide covers what AI background removal actually does, the step-by-step workflow for clean cutouts, and how to replace the background with a brand-new scene — no Photoshop, no pen tool, no patience required.
Quick verdict: AI background removal does the old Photoshop pen-tool hour in seconds: remove to isolate, replace to reimagine, regenerate only when the character herself is the problem. Edges are where cutouts live or die – inspect at full size, decontaminate the fringe, match light and shadow on the new scene, and upscale only the finished composite.


1. The Short Version
| Your Goal | Best Approach | Why |
|---|---|---|
| Remove the background entirely (transparent PNG) | AI background remover | One click; subject isolated on transparency |
| Swap in a new scene behind your character | Remove → composite on new background | Keeps your character, changes the world |
| Fix a cluttered or ugly background | Replace, don’t repair | A fresh background beats fighting the old one |
| Background is fine, subject is wrong | Regenerate or inpaint | Background tools fix backgrounds, not characters |
The rule of thumb: remove to isolate, replace to reimagine, regenerate when the subject itself is the problem. Background work is the cheapest edit you can make — use it freely.
2. What AI Background Removal Actually Does
A background remover segments your image: it decides which pixels are “subject” and which are “background,” then deletes the background — either to transparency (a PNG with an alpha channel) or to a solid color. Modern models are trained on millions of portraits, so they handle the hard parts — flyaway hair, fur, translucent fabric edges — far better than the old magic-wand days.
What it does well:
- People and characters: the #1 use case and the most solved one. A clear fictional character against any background comes out clean in one pass.
- Hair and fine detail: the old nightmare. AI matting models (the tech behind the best removers) are specifically trained on hair strands and soft edges — this is where they beat manual masking.
- Semi-transparency: glass, sheer fabric, motion blur at edges — decent removers preserve partial transparency instead of chopping it to hard edges.
Where it still struggles: subjects that blend into the background (dark hair on a dark background), complex transparency (a character behind a rainy window), and low-contrast edges. The fix is almost always the same — better input beats better settings. A clean, high-contrast generation gives the remover an easy job; a muddy one doesn’t. (If your generations are consistently muddy, our troubleshooting guide fixes the source problem.)
3. The Clean-Cutout Workflow, Step by Step
- Start with your best render. Background removal can’t fix a bad subject. Pick the generation with the cleanest edges and the most separation between character and background.
- Run the remover once. Upload to SpicyLab’s AI Image Editor and let it do the first pass. Don’t touch settings yet — the default is right 90% of the time.
- Inspect at 100% zoom. Edges hide their sins at thumbnail size. Zoom in on hair, hands, and anywhere the subject meets the old background. Look for halos (a fringe of old background color), jagged steps, and eaten detail.
- Refine the edges. Most editors offer an edge-refine or feather control. Small feather values (1–2px) soften the cut; larger values look blurry. Refine only the problem areas, not the whole outline.
- Decontaminate color. If a halo of the old background clings to the edge, a “decontaminate” or “edge color” pass replaces those fringe pixels with the subject’s own colors. This single step fixes most “it looks pasted-on” complaints.
- Export with transparency. Save as PNG. JPG doesn’t support transparency — exporting a cutout as JPG bakes in a white (or black) box and defeats the whole exercise.
4. Background Replacement: New World, Same Character
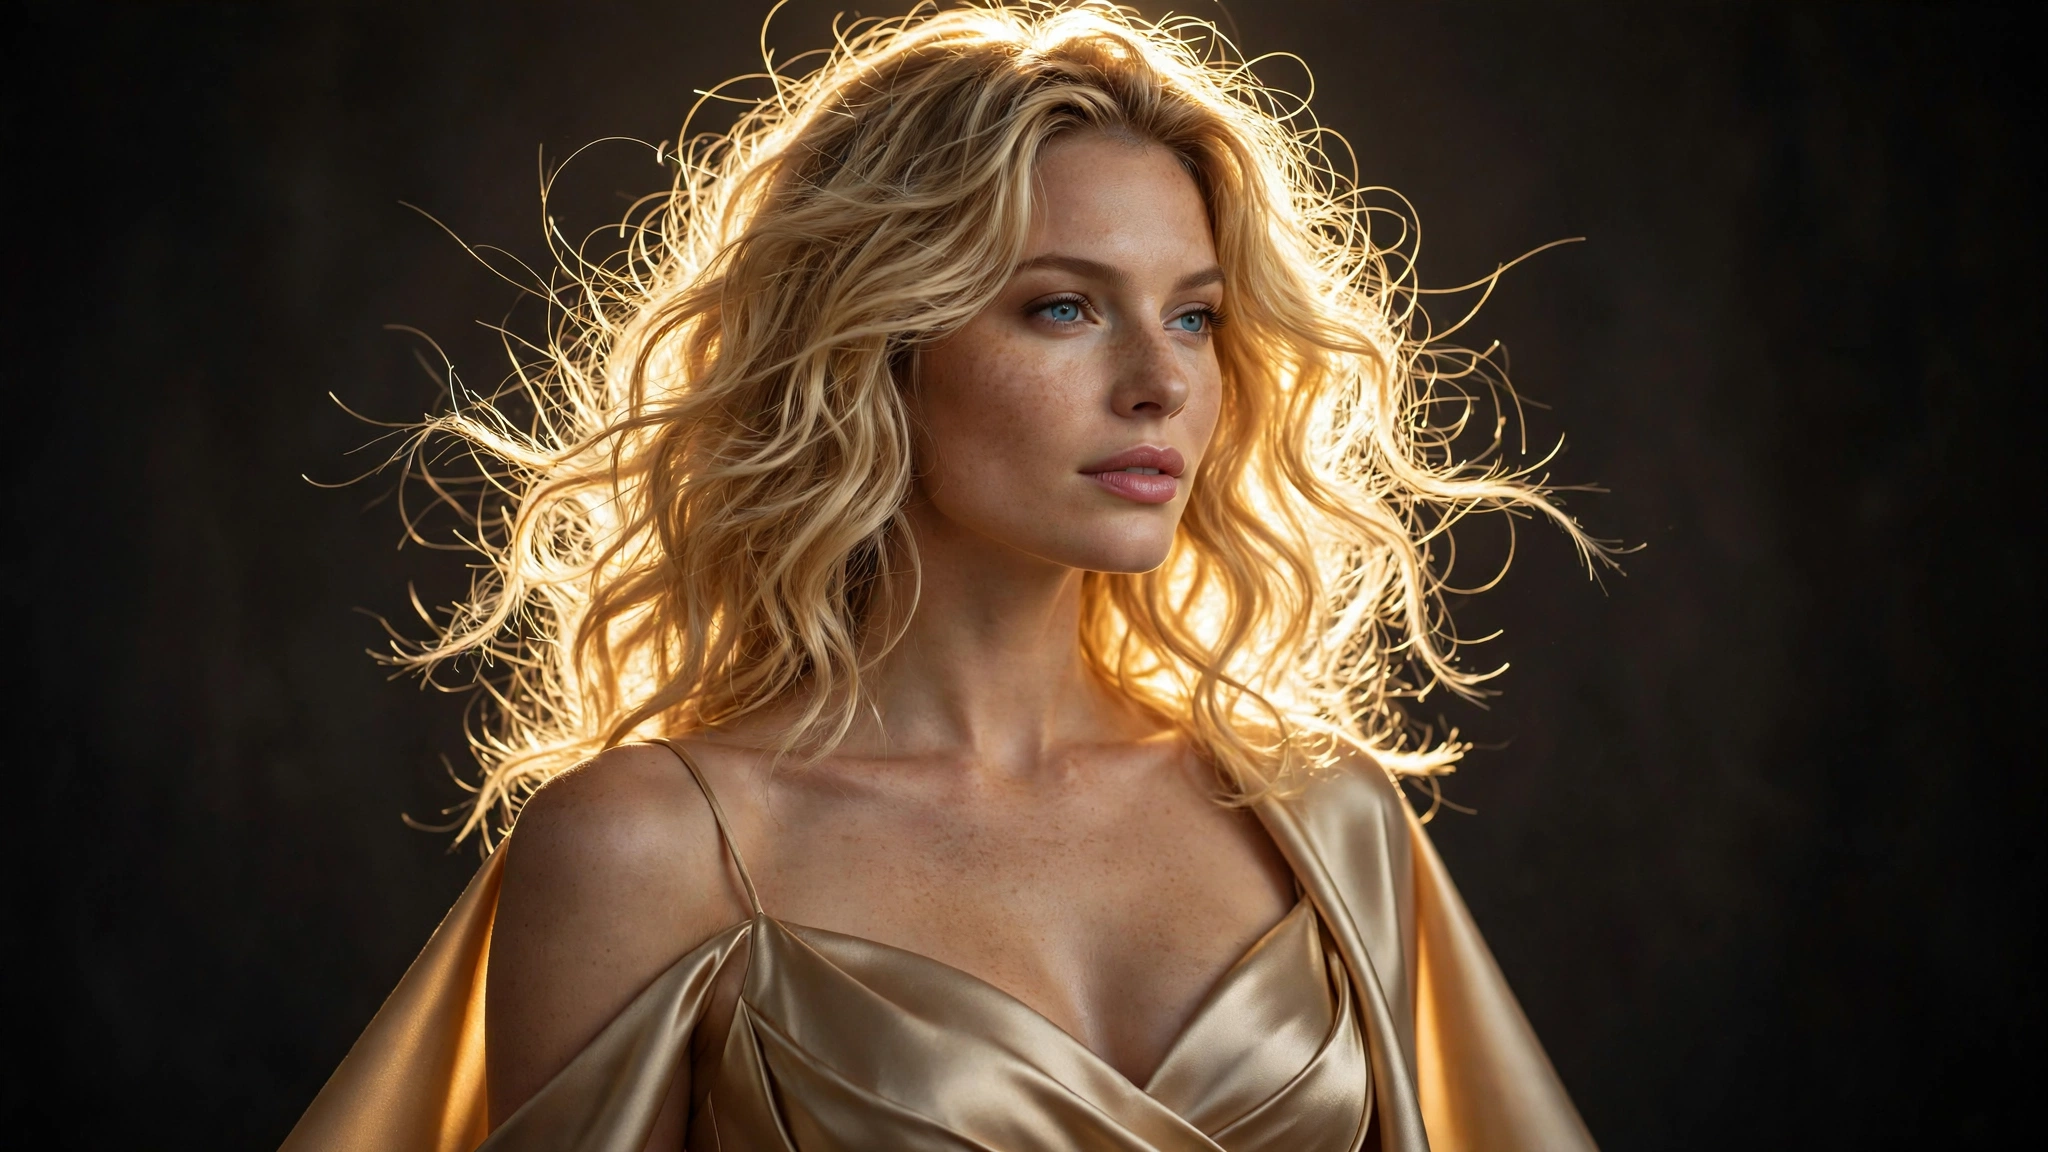
Removal is only half the trick. The real power move is replacement: keep your perfect character, drop her into a completely new scene. Same woman, beach at golden hour instead of a gray studio. Same pose, neon rooftop instead of a blank wall.
The workflow:
- Cut out the subject using the workflow above — clean edges matter twice as much here, because the new background will expose every flaw the old one hid.
- Generate or pick the new background. Use SpicyLab’s AI Porn Generator to create the scene without a person in it — “empty beach at golden hour, cinematic” — or reuse any background image you like.
- Match the light. This is the step everyone skips and the reason most composites look fake. If the new background is warm sunset light, the character needs warm rim light on her edges. A quick relight pass — or generating the background to match the character’s existing lighting — sells the illusion.
- Match perspective and scale. A character shot from below composited onto a background shot from above looks wrong in a way viewers feel but can’t name. Keep camera angles roughly consistent.
- Blend the contact points. Where the character meets the ground (feet, seated areas), add a soft shadow. Floating characters with no shadow are the #1 composite tell.
Pro tip: the easiest replacements are the ones where you barely change the lighting. A daytime character goes onto a daytime background; a moody neon character goes onto a night scene. Matching first beats fixing later. (For relighting an existing image instead of replacing its background, see our image editing guide on instruction edits.)

5. Edges Are Everything: Fixing the Usual Suspects
Ninety percent of bad cutouts are edge problems. Here’s the rogue’s gallery and the fix for each:
| Problem | What It Looks Like | The Fix |
|---|---|---|
| Halos | A fringe of the old background color clinging to the outline | Decontaminate/desaturate edge pixels; or choke the mask inward 1px |
| Jagged steps | Staircase edges on curves, especially at low resolution | Work from a higher-resolution source; add 1px feather |
| Eaten hair | Flyaway strands chopped off, hair looks helmet-like | Use a hair-refine mode; or regenerate the character against a cleaner background |
| Glowing edges | Subject looks pasted-on, too crisp against a soft background | Slight blur (0.5–1px) on the mask edge; match the background’s depth of field |
| Transparency holes | Gaps showing through sheer fabric or between limbs | Manually patch with a small brush, or accept them — real sheer fabric shows through |
| Color spill | Old background tint bleeding onto skin/clothes near edges | Decontaminate pass; in stubborn cases, inpaint the affected edge strip |
The golden rule of edges: inspect at full size, fix at full size. Every edge sin in this table is invisible at thumbnail scale and glaring at full resolution — and your audience will see the full-size version.
6. When to Edit vs. When to Regenerate
Background tools are powerful, but they’re not always the answer. The decision framework:
- Edit (remove/replace) when the character is right and only the background is wrong. This is the highest-ROI edit in the toolkit — seconds of work, total transformation.
- Inpaint the background when you want to keep the general scene but change one element — swap a window view, remove a photobomber, clean up clutter. (Our editing guide covers inpainting in depth.)
- Regenerate when the character and background are wrong together — bad lighting on both, wrong mood overall, composition that doesn’t work. No amount of background surgery saves a fundamentally weak image; see our prompt guide and variations guide instead.
- Upscale after, not before. Do your background work at working resolution, then upscale the finished composite. Upscaling first just magnifies edge flaws you’ll have to fix at higher resolution.
The professional loop, end to end: generate → pick the winner → clean cutout → new background → match light and shadow → upscale. Five steps, and the result looks like a photoshoot that never happened — which, of course, is exactly the point.
Ready to try it? Open SpicyLab’s AI Image Editor, upload your best generation, and run the background remover. Your first clean cutout is about thirty seconds away.
7. FAQ
What is an AI background remover?
A tool that automatically separates the subject of a photo from its background using trained segmentation models, then deletes the background — usually to transparency. It handles hair and soft edges far better than manual masking.
How do I replace a background with AI?
Remove the old background to get a clean cutout, generate or choose a new background scene, composite the subject onto it, then match lighting, perspective, and shadows so the blend looks natural.
Why does my cutout have a white outline (halo)?
That’s fringe pixels from the old background clinging to the edge. Run a decontaminate/desaturate pass on the edge, or choke the mask inward by 1 pixel.
Can AI remove backgrounds from any image?
Almost — it works best on clear subjects with decent contrast against the background. Very low-contrast edges, heavy motion blur, and complex transparency (like rain on glass) still need manual help.
Should I upscale before or after removing the background?
After. Do the cutout and compositing at working resolution, then upscale the finished result — upscaling first magnifies edge flaws.
What’s the difference between background removal and inpainting?
Removal isolates the whole subject from its background in one pass; inpainting regenerates a masked region you choose. Use removal for full cutouts, inpainting for fixing or changing parts of a scene.
{“@context”: “https://schema.org”, “@type”: “FAQPage”, “mainEntity”: [ {“@type”: “Question”, “name”: “What is an AI background remover?”, “acceptedAnswer”: {“@type”: “Answer”, “text”: “A tool that automatically separates the subject of a photo from its background using trained segmentation models, then deletes the background — usually to transparency.”}}, {“@type”: “Question”, “name”: “How do I replace a background with AI?”, “acceptedAnswer”: {“@type”: “Answer”, “text”: “Remove the old background to get a clean cutout, generate or choose a new background scene, composite the subject onto it, then match lighting, perspective, and shadows.”}}, {“@type”: “Question”, “name”: “Why does my cutout have a white outline (halo)?”, “acceptedAnswer”: {“@type”: “Answer”, “text”: “Fringe pixels from the old background cling to the edge. Run a decontaminate pass on the edge, or choke the mask inward by 1 pixel.”}}, {“@type”: “Question”, “name”: “Can AI remove backgrounds from any image?”, “acceptedAnswer”: {“@type”: “Answer”, “text”: “Almost — it works best on clear subjects with decent contrast. Very low-contrast edges, heavy blur, and complex transparency still need manual help.”}}, {“@type”: “Question”, “name”: “Should I upscale before or after removing the background?”, “acceptedAnswer”: {“@type”: “Answer”, “text”: “After. Do the cutout and compositing at working resolution, then upscale the finished result.”}}, {“@type”: “Question”, “name”: “What’s the difference between background removal and inpainting?”, “acceptedAnswer”: {“@type”: “Answer”, “text”: “Removal isolates the whole subject from its background in one pass; inpainting regenerates a masked region you choose.”}} ]}