AI Image Editing Guide: Inpainting, Outpainting & Instruction Edits (2026)
October 17, 2026
🔞 18+ Only: This guide covers AI image editing for adult content. All examples describe fictional adult characters. You must be of legal adult age in your jurisdiction to use these tools.
Here’s a secret the best AI creators know: almost nobody publishes their first generation. The polished images you see online are usually generation #3 plus targeted edits — a fixed face here, a changed background there, an expanded canvas everywhere. AI image editing (inpainting, outpainting, and instruction-based edits) is what turns “close enough” into “exactly right” — and it’s cheaper than regenerating from scratch every time.
This guide covers the three editing techniques that matter, when to use each, and how to get clean results with SpicyLab’s AI Image Editor.
Quick verdict: Almost nobody publishes their first generation – the polished results are generation plus targeted edits. Inpaint to fix one broken region, outpaint to expand the canvas, and use instruction edits to transform the whole image. Edit the best composition instead of regenerating from scratch: it costs a fraction of the credits, preserves what already works, and you always upscale last.
1. The Short Version
| Technique | What It Does | Use It When… |
|---|---|---|
| Inpainting | Regenerates a masked region of the image | Fixing a bad face, hands, or object; changing one element |
| Outpainting | Extends the canvas beyond the original borders | You need a wider shot, more background, different aspect ratio |
| Instruction edit | “Change X to Y” across the image | Restyling, relighting, or global adjustments |
The rule of thumb: inpaint to fix, outpaint to expand, instruction-edit to transform. Editing costs a fraction of a full regeneration and preserves the parts you already like.
2. Inpainting: Fix Exactly What’s Broken
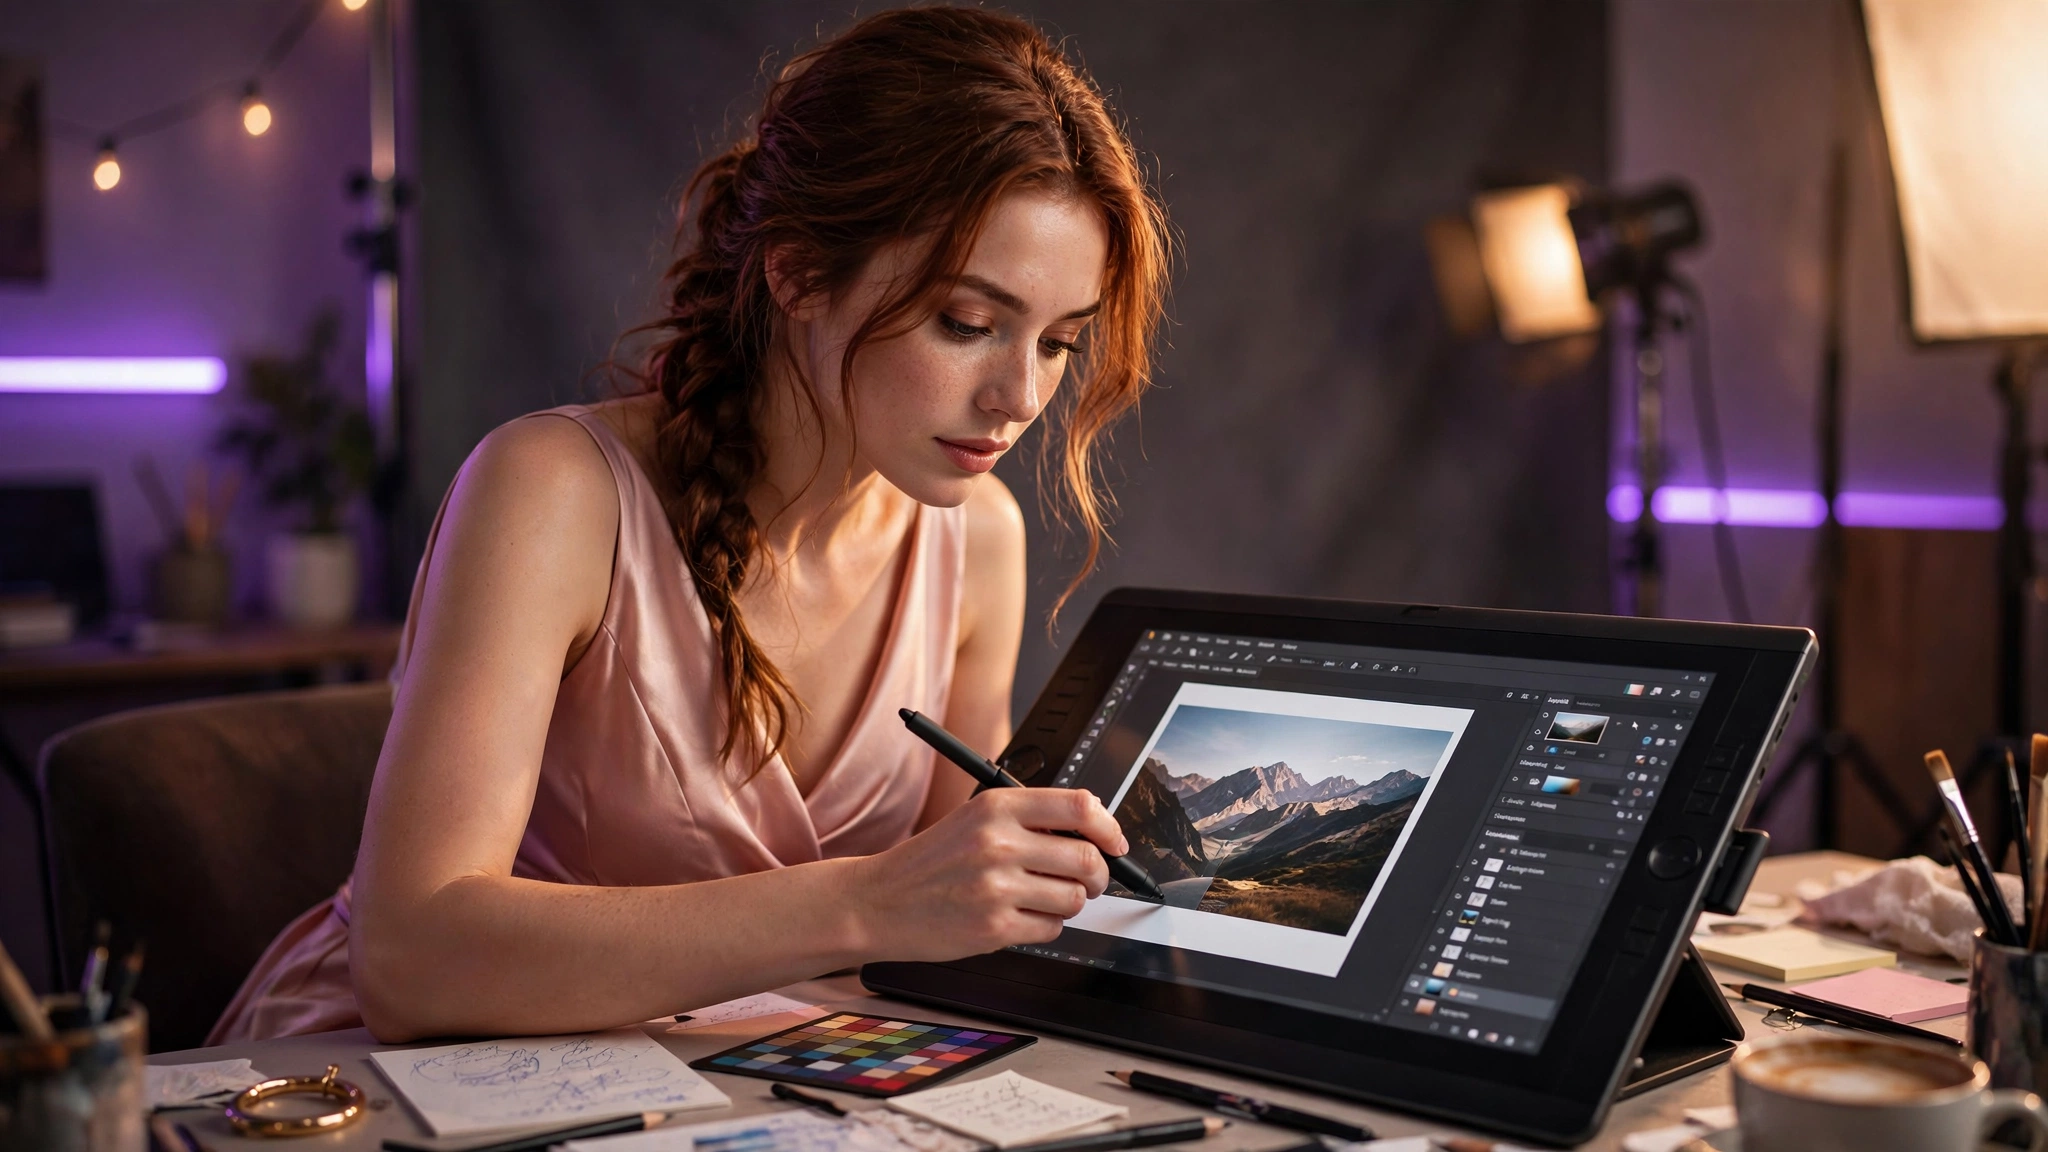
Inpainting is the single highest-ROI skill in AI generation. You brush a mask over the broken region — a melted face, a six-fingered hand, an unwanted object — describe what should be there instead, and the model regenerates only that region, blending it into the surrounding pixels.
What it’s best for:
- Faces: the #1 use case. A perfect scene with a bad face doesn’t need a full redo — mask the face, describe the fix, keep the scene. (Our troubleshooting guide covers when to inpaint vs. regenerate.)
- Hands: mask the mangled hand, prompt “relaxed hand resting at side” — simpler than regenerating the whole composition.
- Object removal/replacement: remove photobombers, swap an outfit element, change a prop.
- Detail upgrades: mask a flat-looking area and prompt richer detail — jewelry, fabric texture, background elements.
Tips for clean inpaints: mask slightly beyond the broken area (the model needs context at the edges); keep the replacement prompt simple and specific; match the surrounding style in your description (“same lighting, same art style”). If the seam shows, run a second pass with a slightly larger mask.
3. Outpainting: Expand the Canvas
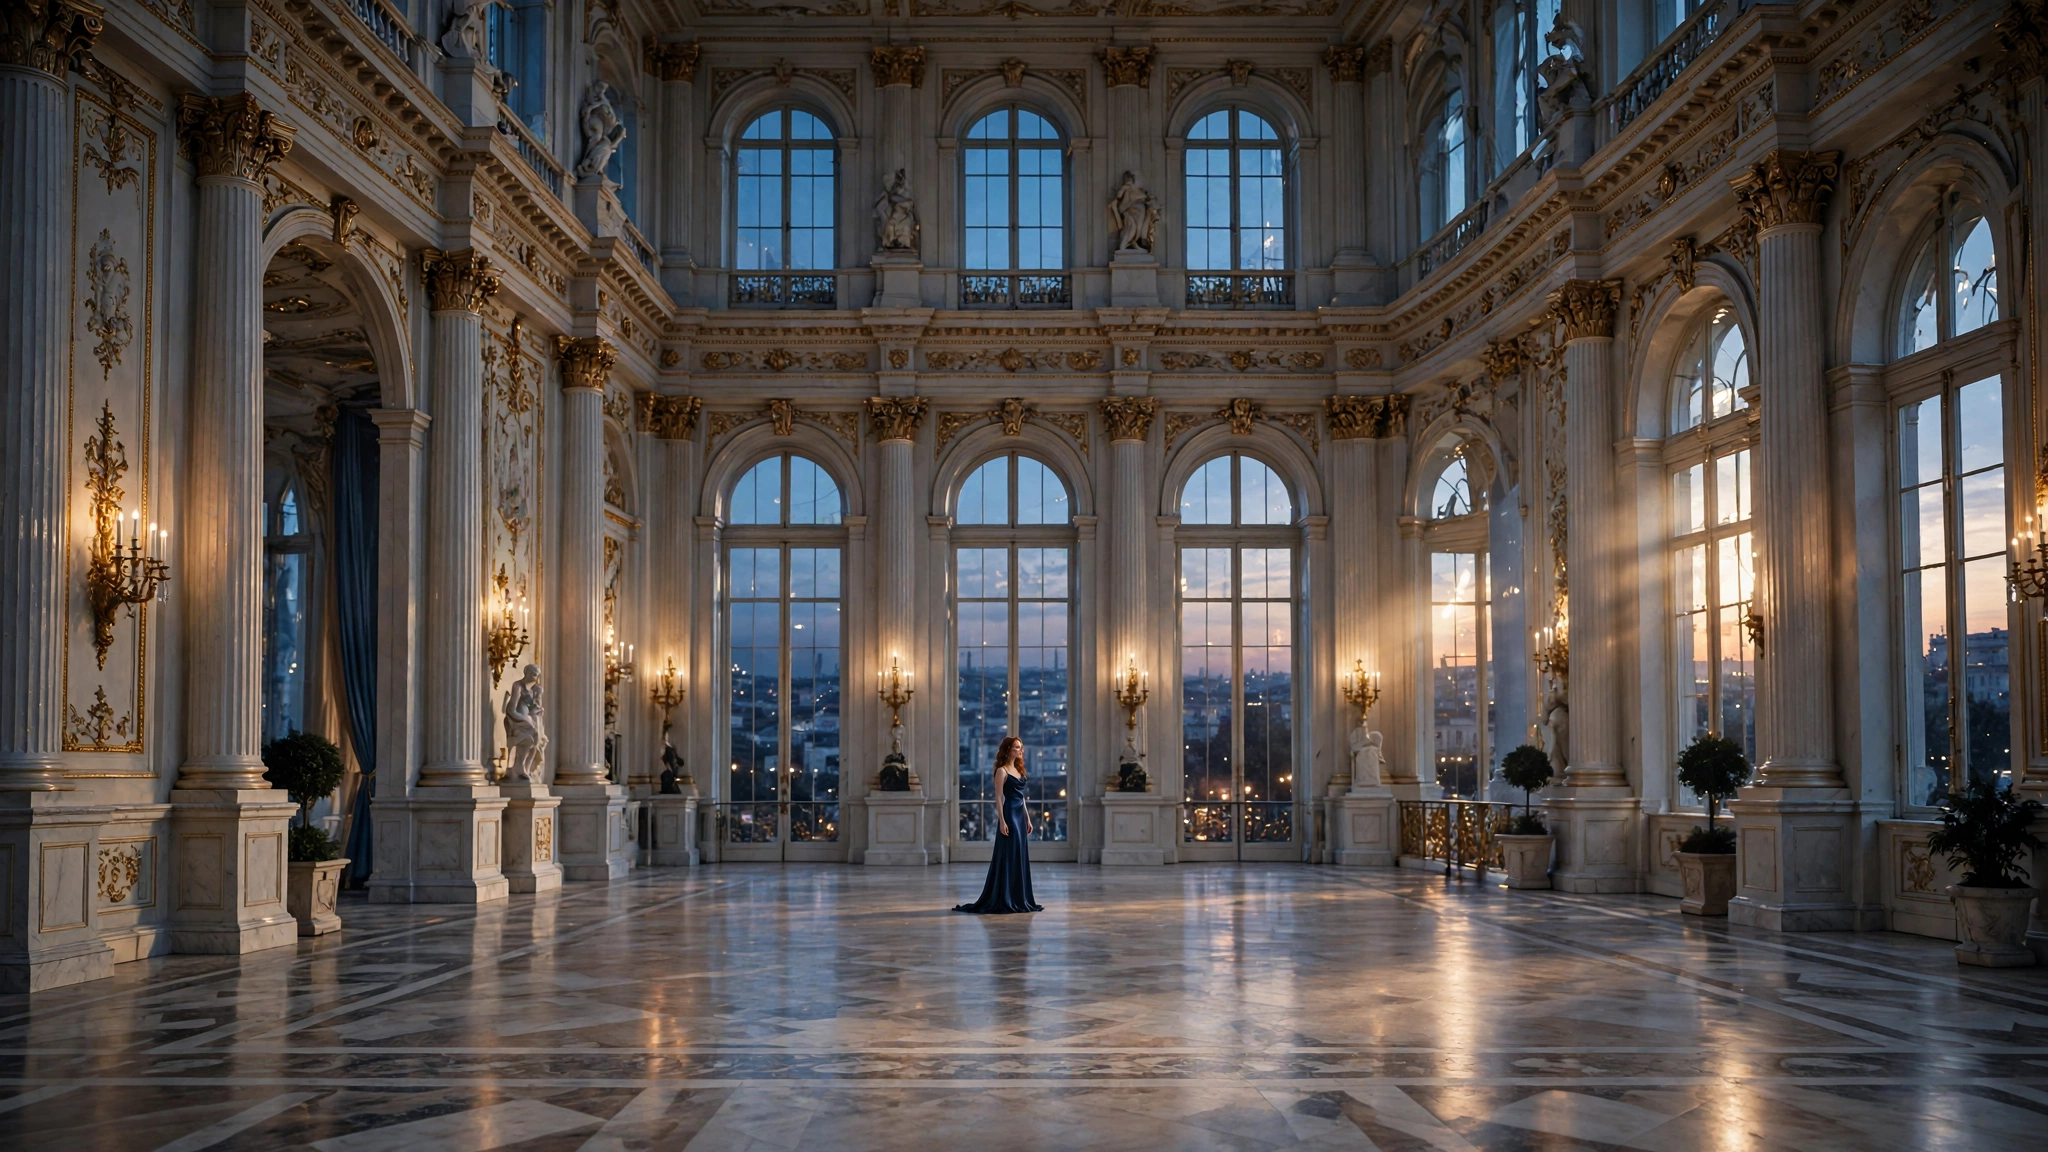
Outpainting extends your image beyond its original borders — the model invents what continues past the frame. Turn a portrait into a wide scene, add environment around a character, or convert aspect ratios without cropping.
What it’s best for:
- Aspect ratio changes: square → wide banner, portrait → landscape — without squishing or cropping the subject.
- Scene completion: a great character render with a cramped background becomes a full environment.
- Wallpapers and banners: extend a favorite generation to fill a screen or header.
Tips: extend in stages (a little at a time beats one giant leap); describe the new regions in your prompt, not the existing ones; expect to inpaint small artifacts at the seam afterward. Outpainted regions are “guesses” — inspect them at full size before calling it done.
4. Instruction Edits: “Change X to Y”
Instruction-based editing takes a plain-language command — “make the lighting golden hour,” “change the background to a beach at sunset,” “turn this into anime style” — and applies it to the whole image while preserving composition and identity.
What it’s best for:
- Relighting: the fastest quality upgrade. “Cinematic lighting” or “soft window light” transforms a flat render.
- Background swaps: keep the character, change the world — one edit instead of a full regeneration.
- Style transfer: photorealistic → anime, or anime → painterly, while keeping the pose and composition. (See our art styles guide for which styles convert cleanly.)
- Mood shifts: day → night, cheerful → moody — lighting and color do the emotional work.
Tips: one change per edit (stacking “change lighting AND background AND style” in one instruction muddies all three); be specific about what should stay the same (“keep the same face and pose”); compare before/after at full size — instruction edits can subtly shift identity.
5. The Edit-First Workflow
Here’s how experienced creators actually work — generation is just step one:
- Generate in batches. Run 4–6 variants of your prompt; pick the best composition, not the most perfect render. (Prompting basics: our prompt guide.)
- Inpaint the flaws. Fix faces, hands, and artifacts on the winner — usually 1–3 targeted passes.
- Outpaint if needed. Expand the canvas for the aspect ratio or scene you want.
- Instruction-edit for polish. Relight, restyle, or mood-shift the final composition.
- Upscale last. Always upscale after editing — upscaling first just magnifies flaws you’ll then have to fix at higher resolution. (See our upscaling guide.)
This workflow is why editing beats regenerating: each step preserves what already works and only risks the part you’re changing. A full regeneration risks everything, every time.
6. Common Editing Mistakes
| Mistake | Why It Fails | Do This Instead |
|---|---|---|
| Masking too tightly | No context at edges → visible seams | Mask beyond the broken area |
| Over-detailed inpaint prompts | Conflicts with surrounding pixels | Simple, specific replacement descriptions |
| Editing before picking a winner | Polishing a weak composition | Batch-generate first, edit only the best |
| Upscaling before editing | Magnifies flaws; slower edits | Edit first, upscale last |
| Stacking 3+ changes in one instruction | All changes come out muddy | One change per edit, verify between steps |
| Ignoring identity drift | Face subtly changes across edits | Compare at full size; use face swap to re-anchor identity if needed |
7. FAQ
What is AI inpainting?
A technique that regenerates only a masked region of an image — you brush over what to fix, describe the replacement, and the model blends it into the surrounding pixels. Ideal for fixing faces, hands, or objects.
What is AI outpainting?
Extending an image beyond its original borders — the model invents what continues past the frame. Used for aspect-ratio changes, wider scenes, and wallpapers.
Is it better to edit or regenerate a bad image?
Edit, when the composition is good and only parts are broken. Regenerate when the core composition is wrong — no amount of inpainting fixes a fundamentally weak image.
Should I upscale before or after editing?
After. Always edit first at working resolution, then upscale the final result — upscaling first magnifies the flaws you’ll need to fix.
Can AI editing change the art style of an image?
Yes — instruction edits like “turn this into anime style” restyle the image while preserving composition. Some style conversions are cleaner than others; see our art styles guide.
Does editing cost less than generating?
Typically yes — editing touches only part of the image, so it uses less compute than a full regeneration. It’s also faster in practice because you keep what already works.
{“@context”: “https://schema.org”, “@type”: “FAQPage”, “mainEntity”: [ {“@type”: “Question”, “name”: “What is AI inpainting?”, “acceptedAnswer”: {“@type”: “Answer”, “text”: “A technique that regenerates only a masked region of an image — you brush over what to fix, describe the replacement, and the model blends it into the surrounding pixels.”}}, {“@type”: “Question”, “name”: “What is AI outpainting?”, “acceptedAnswer”: {“@type”: “Answer”, “text”: “Extending an image beyond its original borders — the model invents what continues past the frame. Used for aspect-ratio changes and wider scenes.”}}, {“@type”: “Question”, “name”: “Is it better to edit or regenerate a bad image?”, “acceptedAnswer”: {“@type”: “Answer”, “text”: “Edit when the composition is good and only parts are broken. Regenerate when the core composition is wrong.”}}, {“@type”: “Question”, “name”: “Should I upscale before or after editing?”, “acceptedAnswer”: {“@type”: “Answer”, “text”: “After. Always edit first at working resolution, then upscale the final result.”}}, {“@type”: “Question”, “name”: “Can AI editing change the art style of an image?”, “acceptedAnswer”: {“@type”: “Answer”, “text”: “Yes — instruction edits restyle the image while preserving composition. Some conversions are cleaner than others.”}}, {“@type”: “Question”, “name”: “Does editing cost less than generating?”, “acceptedAnswer”: {“@type”: “Answer”, “text”: “Typically yes — editing touches only part of the image, so it uses less compute than a full regeneration.”}} ]}