How to Make Longer AI Porn Videos: Extend, Loop & Stitch Your Clips (2026)
November 16, 2026
🔞 18+ Only: This guide covers video-generation workflows used for adult content. All examples describe fictional adult characters. You must be of legal adult age in your jurisdiction to use any of these services.
Every AI video generator has the same quiet limitation: one generation is one short clip. On the Wan 2.2 models behind most current image-to-video tools, a single pass is 5 or 8 seconds — enough for a look, a turn, a slow push-in, and not much else. So the moment you want a scene that actually goes somewhere — thirty seconds, a minute, a sequence with a beginning and an end — you stop generating and start assembling. That assembly is a skill of its own, and it’s what this guide teaches.
There are four ways to make an AI porn video longer, and they solve different problems: native extend continues the shot you’re in; last-frame chaining starts the next clip from the previous clip’s final frame; seamless loops make a few seconds play forever; and stitching assembles separately generated scenes into one sequence. This guide assumes you can already make a basic clip (if not, start with our image-to-video workflow) and covers only duration: joining generations so the joins don’t show, how far each method can be pushed, and what the extra seconds do to your credit bill.

⚡ The Short Version
- One generation = one short clip. Current image-to-video models render a few seconds per pass (5 or 8 seconds on Wan 2.2). Anything longer is built, not generated — plan for assembly from the start.
- Native extend is the smoothest join. The tool continues your existing clip with motion context intact. Best for finishing a single shot; quality decays a little with every hop, so two or three extensions is the practical sweet spot.
- Last-frame chaining works everywhere. Harvest the final frame of a clip and use it as the starting frame of the next image-to-video generation. Slightly more visible joints than native extend, but total control at every seam.
- Loops are the budget cheat code. A cyclic 5-second clip that loops seamlessly plays for a minute at the cost of 5 seconds of generation. For ambient scenes, nothing else comes close on cost.
- Stitching is how real sequences are built. Generate scenes separately and cut them together like a film editor. Cuts are a feature of cinema, not a flaw — a deliberate cut hides a generation seam completely.
- Video is billed per second, so length is money. Every hop, extension and discarded attempt adds seconds. Read the cost section (§6) before you build a long piece, and storyboard first.
Contents
- Why one generation is never long enough
- Method 1 — Native extend: continue the shot you’re in
- Method 2 — Last-frame chaining: the universal extend
- Method 3 — Seamless loops: when endless beats longer
- Method 4 — Stitching: assemble scenes into a sequence
- The per-second bill: what longer actually costs
- Continuity rules that apply to every method
1. Why One Generation Is Never Long Enough
Video models generate a fixed window of frames per run because cost and failure rate scale with every frame: hold a face, a body and a camera move coherent for 5 seconds and the model is working hard; ask for 60 in one pass and drift compounds until the character and the room quietly come apart. So the industry settled on short passes. Per the model documentation for Wan 2.2 image-to-video (checked October 22, 2026), a generation is 5 or 8 seconds, with an optional end-frame input; a 2026 comparison of mainstream tools puts other single-pass caps at roughly 5 to 16 seconds. The numbers differ, the shape doesn’t: a generation is a shot, not a scene.
Once you accept that, “making a longer video” stops being a settings problem and becomes an editing problem with four tools. Here they are at a glance:
| Method | How the join works | Continuity | Cost shape | Best for |
|---|---|---|---|---|
| Native extend | The tool generates the next seconds conditioned on your clip’s ending | Smoothest — motion and momentum carry over | Each hop costs its seconds; decay limits hops | Finishing one continuous shot |
| Last-frame chaining | Final frame of clip A becomes the first frame of clip B | Pose-perfect joint; motion restarts, so fast action pulses at the seam | One full generation per link | Controlled sequences on any image-to-video tool |
| Seamless loop | Clip is built so the end flows back into the start | Perfect, if the motion is cyclic | Pay for the loop’s seconds once, play forever | Ambient scenes, backgrounds, profiles |
| Stitching | Scenes generated separately, cut together in an editor | Editorial — cuts are supposed to be there | One generation per scene; failed scenes re-rolled alone | Anything with more than one shot or angle |
2. Method 1 — Native Extend: Continue the Shot You’re In
Native extend is the one-button answer: give the tool a clip you already have, write a prompt for what happens next, and it generates a continuation from the clip’s final moments — same character, same room, same camera momentum. SpicyLab’s video tools include a video extend option for clips you’ve generated there; Runway, Luma and Kling ship equivalents, and the pattern is identical everywhere.
Three rules decide whether an extension looks invisible or falls apart:
- Prompt only the new action. The model can see the tail of your clip — it already knows the woman, the dress and the room. Re-describing the scene doesn’t reinforce it; it gives the model a second, slightly different interpretation to drift toward. Write what changes: “she turns toward the window, hair swinging with the turn.”
- Extend a living tail, not a dead one. Generators ease motion out near a clip’s end, so the final half-second is slower and softer than the middle. An extension starting from that settled tail inherits the deadness — the join reads as a hiccup. Extend from a point where motion is still alive; when chaining manually (§3), harvest your frame a few frames before the very end.
- Budget your hops. Every extension is generated from the previous output, so each hop re-interprets an interpretation: faces soften, fabric patterns simplify, background details wander. One hop is usually invisible; by the third or fourth the shot has visibly drifted. Treat two to three extensions as the working range for one shot — beyond that, cut to a new scene (§5) and let an editorial cut reset the quality.
One more discipline: change one thing per hop. An extension that continues the action and swings the camera and changes the lighting stacks three chances to drift on top of each other. Sequence the changes across hops and each lands cleanly.
3. Method 2 — Last-Frame Chaining: The Universal Extend
Last-frame chaining is the manual version of the same trick, and it works on any tool that accepts a starting image — including our image-to-video generator. Play your clip to the end, extract the final frame as a still (any player or editor can grab it), and use that still as the first frame of the next generation. The two clips share an identical frame at the joint, so the cut between them can be genuinely invisible.
Chaining differs from native extend in one important way: the tool sees a still, not the motion that produced it. Pose and composition carry over perfectly; momentum does not. That shapes the rules:
- Chain at low speed. A joint is invisible when the subject is moving slowly at the handoff — mid-breath, mid-glance, the slow part of a turn. Chain in the middle of a fast movement and the second clip restarts the motion from zero: the pose matches, the energy doesn’t, and the seam pulses.
- Keep direction continuous. If she was turning left, the next clip continues left. If the camera was pushing in, it keeps pushing in (or holds — a push that reverses into a pull-out at the joint looks like a mistake even when each clip is fine alone).
- Carry your anchors across. Same character description, wardrobe and setting words, aspect ratio and resolution in every link, and the same seed where the tool exposes one. The frame does the heavy lifting; the prompt is the other half of continuity.
- Plan joints with end frames. Models that accept an optional end-frame input (Wan 2.2 does, per its documentation) let you generate toward a chosen frame: pick the still you want a clip to land on, and the model interpolates the motion to arrive there. Design that landing frame as the opening of your next scene, and the chain becomes a storyboard you control.

4. Method 3 — Seamless Loops: When Endless Beats Longer
A loop solves a different problem. Much of what people want “longer” video for — a living background, a profile clip, an ambient scene — doesn’t need new content every second; it needs motion that never stops. A 5-second clip whose end flows back into its beginning plays for ten minutes as happily as for ten seconds, and you pay for 5 seconds of generation, once.
Three ways to build one, in order of reliability:
- Cyclic motion. Prompt an action that naturally returns to its start: a twirl that completes a full circle, hair and fabric swaying in a breeze, breathing, a slow rock or sway, candlelight and rain. If the first and last frames describe the same pose in the same place, the loop point nearly disappears on its own.
- The boomerang. Play the clip forward, then append it reversed. The joint is mathematically seamless — the last frame is the first frame of the reversed half. It suits to-and-fro motion (swaying, fabric) and betrays itself on directional action: nobody walks backwards convincingly. Most editors do it in two clicks.
- The crossfade loop. In an editor, overlap the clip’s tail over its head and dissolve for half a second to a second; the seam hides inside the blend. This rescues clips that almost loop — ambient scenes especially — at the price of one soft moment per cycle.
Loop rules: keep the camera still or moving in a way that resets (a push-in cannot loop; a gentle sway can); avoid anything with a narrative direction — doors closing, drinks being finished; and keep loops short. A tight 4–6 second loop looks more alive than a loose 15-second one.
5. Method 4 — Stitching: Assemble Scenes into a Sequence
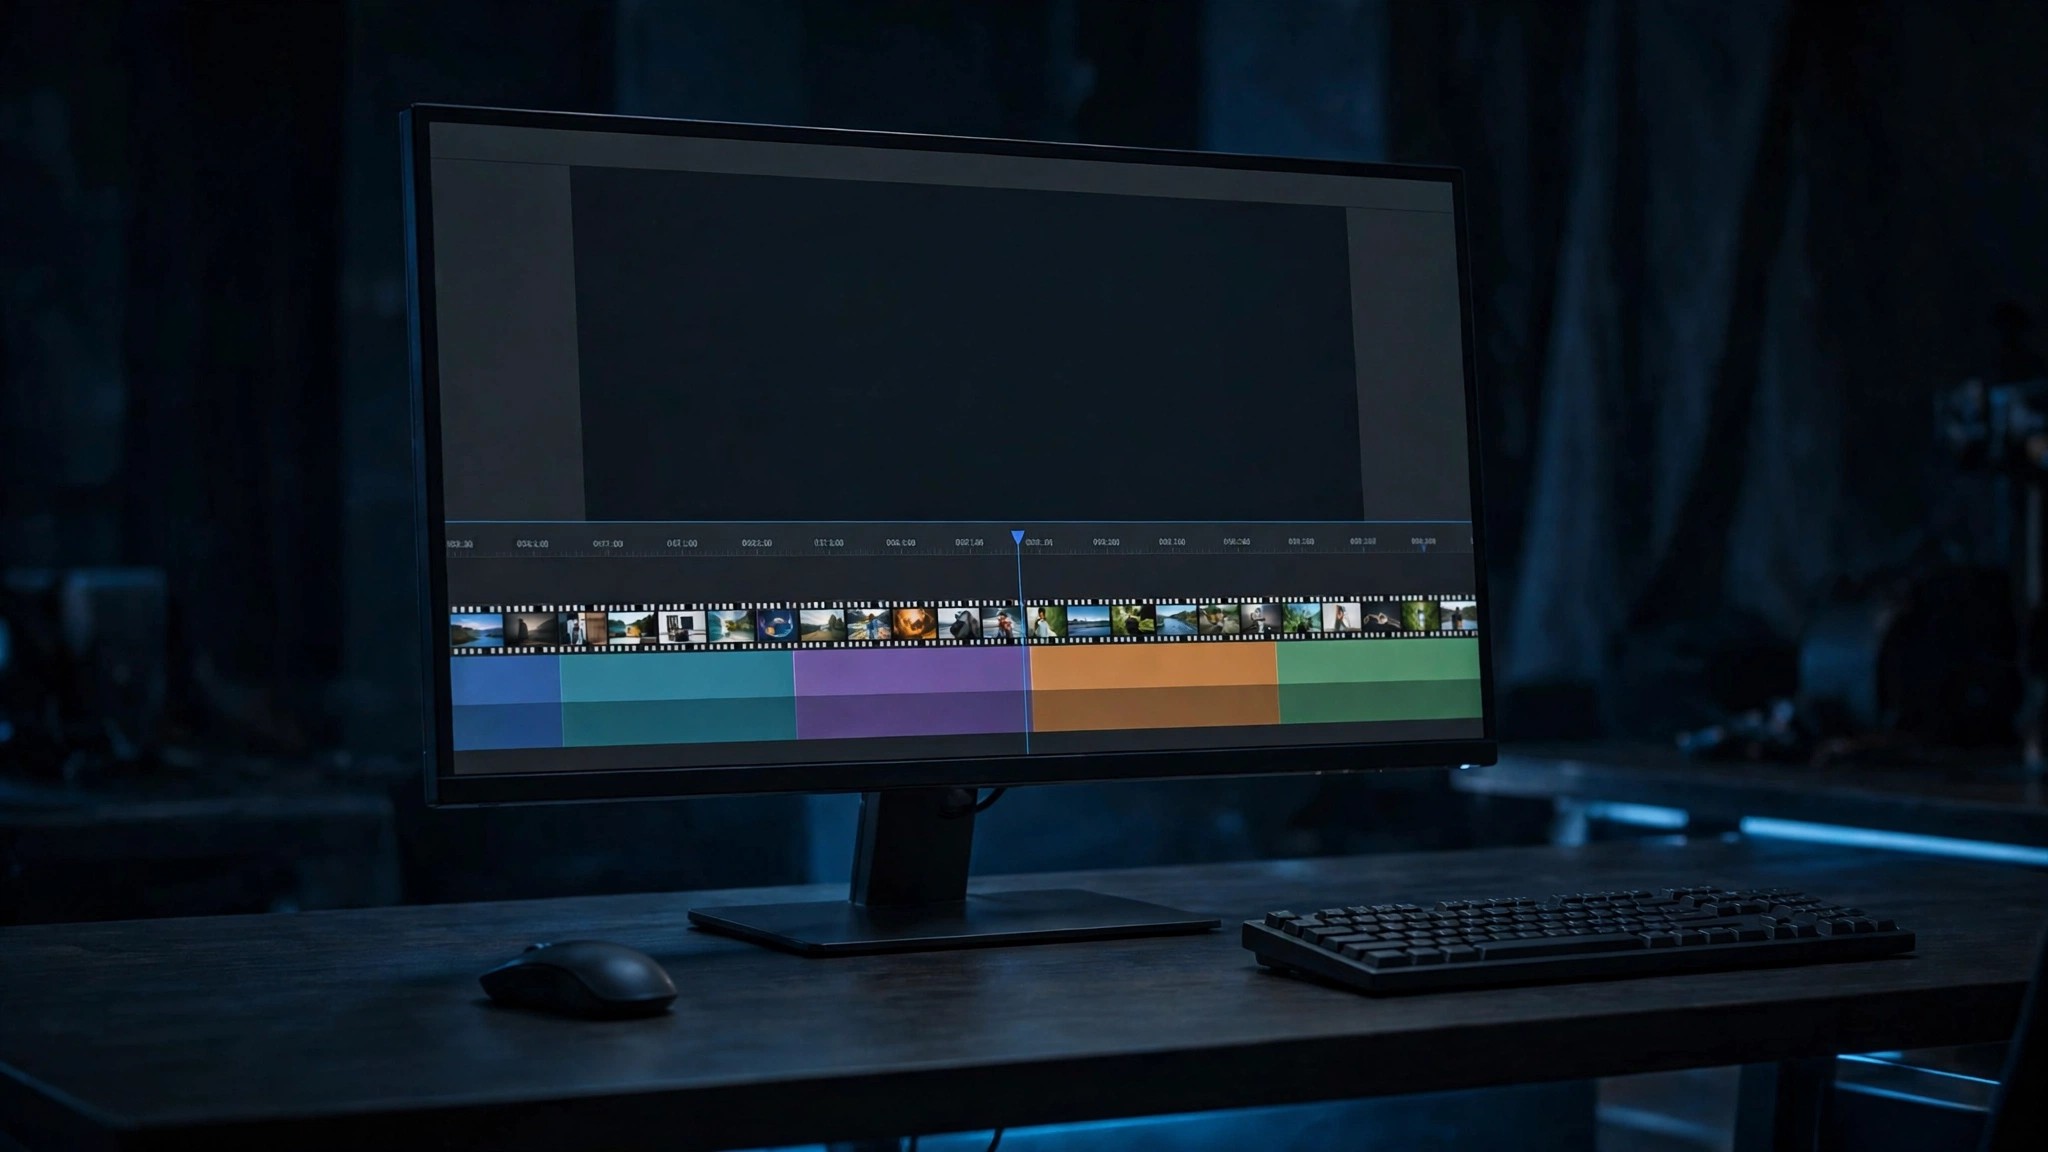
Stitching is the grown-up method: build the piece the way films are built — shot by shot, cut together. Generate each scene as its own clip with its own best frame and prompt, then assemble in any editor (the free ones are fine; the technical route is a concat or crossfade in FFmpeg). A 45-second piece might be six clips: an establishing shot, a close shot, a chained pair for the continuous middle, a loop for the ambient tail.
Why it wins for anything ambitious: a cut is supposed to be there. Every other method fights to hide a seam; stitching puts the seam where viewers expect one, and it vanishes by convention. It also isolates failure — a scene that comes out wrong is re-rolled alone, at its own few seconds of cost — and it resets drift: each scene starts from a fresh, sharp still, so scene six looks as clean as scene one.
The stitcher’s rules:
- Cut on movement. A cut placed mid-gesture — mid-turn, mid-step — reads as intentional editing; a cut between two still poses reads as a glitch. Harvest the energy, not the rest.
- Match across the cut. Same character, wardrobe, lighting direction and eyeline on both sides, unless the cut is explicitly a scene change. When a transition must feel continuous, generate a bridge frame: design the last frame of scene A and use it as the first frame of scene B (the §3 chaining trick, used between scenes).
- Keep the technical specs boring. Identical resolution, frame rate and aspect ratio for every clip in the sequence. Mixed specs force the editor to resample, and resampling differences are a seam all by themselves.
- Short crossfades for stubborn joints. Where a cut still jars, a 6–12 frame dissolve smooths it without the visible “melt” of a long transition.
- Upscale once, at the end. Run the finished sequence through the upscaler as a single file; upscaling clips individually gives each scene a different sharpening character — another quiet seam.
- Save every intermediate. Keep each clip and harvested frame, so a disappointing hop three restarts from hop two’s frame, not from zero.
6. The Per-Second Bill: What Longer Actually Costs
⚠️ Read this before you build anything long: on SpicyLab, video is billed per second of output. Not per click, not per attempt — per second generated (our pricing page states it plainly, and the exact credit cost of every generation is shown before you confirm it). That single fact reorganizes how you should plan a long piece:
- Length is the cost. A 30-second sequence costs roughly six times a 5-second clip — every extension hop and chained link bills its own seconds. There is no bulk discount hiding in the workflow; the seconds are the bill.
- Discarded hops still bill. Failed jobs refund automatically, but a hop that succeeds technically and disappoints creatively is a paid hop. Chains built by trial and error routinely generate seconds of throwaway footage for every second that survives. Storyboard first — beats, angles, joints — and you’ll discard less.
- Frames are cheap insurance. A still image costs a flat 49 credits (template and image-to-image generations) next to per-second video pricing. Generating the perfect start and bridge frames as images first, then animating them, is almost always cheaper than re-rolling video until a random start behaves.
- Loops break the math. A 5-second loop that plays for a minute costs 5 seconds. Whenever the use case allows a loop instead of unique footage, the loop wins by an order of magnitude.
- Prototype short. Prove a motion on the shortest generation first; a direction that fails at 5 seconds would have failed at 8 for more credits. Scale up only what already works — the same discipline our text-to-video workflow recommends.
Credits are simple: one-time packs ($19.99 for 1,000 credits; $59.99 for 5,000), no subscription and no free tier, everything private by default. The planning rule: decide the final runtime first, allocate seconds to scenes second, and generate last. The creators who overspend generate first and plan later.
7. Continuity Rules That Apply to Every Method
Whichever combination you use, the same disciplines separate a long video that holds together from one that quietly mutates:
- One action per segment. Every generation, hop and link gets a single continuous action. Complexity is added by assembly, never inside a segment.
- Anchors in every prompt. Repeat the character, wardrobe and setting anchors in every segment’s prompt, even when a start frame should make them obvious. Redundancy is what consistency is made of.
- Same settings throughout. Model, resolution, aspect ratio and — where exposed — seed stay fixed for the whole piece.
- Harvest before the decay. Generators settle as a clip ends; take frames and extension points from where motion is still alive.
- Never fix in the next hop what broke in this one. A flawed segment doesn’t heal downstream — drift only compounds. Re-roll it, then continue.
- Keep the parts. Every clip, frame and prompt, saved with the sequence.
The Bottom Line
Nobody generates a long AI porn video in one pass — the people whose work looks long and seamless are assembling: extending a shot while it’s alive, chaining from harvested frames, looping what can loop, cutting scenes together like editors. Start from a frame you control with image-to-video, extend or chain for the continuous beats, stitch the scenes, and keep one eye on the per-second meter. Duration isn’t a setting. It’s a workflow — and now it’s yours.
FAQ
How long can an AI porn video be?
A single generation is only a few seconds — 5 or 8 seconds per pass on Wan 2.2, roughly 5–16 across mainstream tools. But the finished piece has no hard cap: extend and chaining build continuous shots of 20–30 seconds, loops play indefinitely, and stitched sequences run as long as you have scenes (and credits) for.
What is video extend?
Video extend is a native continuation feature: the tool takes your existing clip plus a prompt for what happens next and generates the following seconds, conditioned on the clip’s ending so character, setting and camera momentum carry over. It’s the smoothest way to lengthen a single shot, though quality softens slightly with each successive hop.
Extend or last-frame chaining — which is better?
Extend gives the smoother handoff, because the model sees your clip’s motion, not just a still. Chaining gives you control: it works on any image-to-video tool, lets you redirect the action at every joint, and lets you plan landing frames in advance. Most long pieces use both — extend inside a shot, chain between planned frames, cut between scenes.
Why does quality drop the longer I extend?
Each extension is generated from the previous segment’s output, so small reinterpretations compound: faces soften, patterns simplify, details wander. Keep shots to two or three hops, harvest frames before the end-of-clip decay, and reset quality with a fresh scene — an editorial cut.
How do I make a seamless loop?
Prompt cyclic motion whose end state matches its start (a completed twirl, swaying fabric, breathing), keep the camera effectively still, and keep the loop short. If the clip almost loops, the boomerang trick (append the clip reversed) guarantees a seamless joint for to-and-fro motion, and a half-second crossfade between tail and head hides the seam on ambient scenes.
How much does a 30-second video cost on SpicyLab?
Video is billed per second of output, so a 30-second piece costs about six 5-second generations’ worth of credits — plus any hops you discard along the way, which is why storyboarding matters. The exact credit cost of each generation is shown in the studio before you confirm, and failed jobs refund automatically. Credits come from one-time packs ($19.99 for 1,000); there is no free tier.