AI Upscale for Video Frames: Turn Your AI Clips into 4K (2026)
October 22, 2026
🔞 18+ Only: This guide covers AI-generated video enhancement for adult content. All examples describe fictional adult characters. You must be of legal adult age in your jurisdiction to use these tools.
Your AI video clip is perfect — the motion, the lighting, the character. And it’s 512×512 pixels of mush that falls apart the moment you go fullscreen. This is the quiet bottleneck of AI video: generation models produce small, soft frames, and no amount of good prompting fixes resolution at generation time. The fix happens after, with an AI video upscaler — software that rebuilds your clip at 2K or 4K, sharpening detail while keeping motion consistent across frames.
This guide covers what video upscaling actually does (and doesn’t do), the two approaches — frame-by-frame versus true temporal upscalers — the workflow that turns a mushy AI clip into a crisp 4K file, how to fix the flicker and artifacts that plague bad upscales, and the rules that keep the whole thing honest.
Quick verdict: Upscaling is a second generation pass, not a recovery of lost quality – the detail is reconstructed, not revealed. Use a temporal upscaler for the final pass on any real clip, fix hero frames individually first, and follow the professional rule: upscale last, upscale once, upscale only keepers.
1. The Short Version
| Approach | What It Is | Best For |
|---|---|---|
| Frame-by-frame upscale | Upscale every frame as a still image, reassemble into video | Short clips; maximum control over individual frames |
| Temporal video upscaler | Model processes frame sequences together, preserving motion | Longer clips; smoother results with less flicker |
| Generative/detail-reconstruction | AI invents plausible detail where the source is soft | Very low-res sources (256–512px) that need real rebuilding |
| Traditional sharpening | Unsharp mask, lanczos resize — no AI involved | Tiny touch-ups; free and fast but adds no detail |
The rule of thumb: use a temporal video upscaler for the final pass on any AI clip, frame-by-frame only when you need to fix individual frames first. Upscale once, at the end of your pipeline — never before editing. (Our restoration guide covers the single-frame techniques this builds on.)
2. What “AI Video Upscaling” Actually Means
An AI video upscaler takes a low-resolution video and outputs a higher-resolution one. The honest version of what happens inside: the model looks at each frame plus its neighbors, guesses what detail should be there based on patterns it learned from training footage, and renders sharper frames. It does not recover the “original” quality — there is no original. It reconstructs.
This is why upscaling AI-generated video works better than you’d expect and worse than you’d hope:
- Better than expected because AI clips are already synthetic — the upscaler and the generator speak the same language of learned patterns, so reconstruction tends to look coherent.
- Worse than hoped because detail that isn’t in the source can’t be recovered, only invented. Faces, hands, and text in the background are where invention goes wrong — the classic “melted face” frame is an upscaler hallucinating detail it couldn’t see.
The single biggest conceptual trap: upscaling is not enhancement of something real; it’s a second generation pass. Treat it like generation, not like Photoshop. You judge it by whether the result looks good, not by whether it “revealed” anything.
3. Frame-by-Frame vs. Temporal Video Upscalers
There are two fundamentally different ways to upscale a video, and picking wrong is the source of most bad results:
Frame-by-frame. Export the clip as a still-image sequence, upscale each image with an image upscaler (exactly the technique in our restoration guide), and reassemble the frames into video. The upside: total control — you can fix a bad frame before reassembly, and image upscalers are mature and fast. The downside: flicker. Each frame is enhanced independently, so fine detail (film grain, hair strands, background texture) shimmers and crawls as it changes randomly between frames.
Temporal (true video) upscalers. These process frames as sequences — the model sees how pixels move between frames and keeps detail consistent through time. Motion vectors, temporal denoising, frame-to-frame detail propagation: the result is smoother, with far less flicker. The downside: slower, heavier, and you give up per-frame control.
When to use which:
- Clips under ~5 seconds: either works; frame-by-frame is fine if you watch for flicker.
- Clips over ~10 seconds: temporal upscalers, no contest. Flicker compounds with length.
- Clips with a ruined frame or two: frame-by-frame — fix the bad frames individually, then reassemble.
- Batch workflows: temporal — set it running and walk away. Frame-by-frame batching is a file-management headache.

The hybrid move that professionals use: frame-by-frame for hero frames that need surgery (fix a hand, repair a face), temporal for the final full-clip pass. Best of both, at the cost of doing the job twice. For anything you care about, it’s worth it.
4. The Workflow: Generate → Clean → Upscale → Export
Order of operations matters more than tool choice. Upscaling amplifies whatever is in the source — including mistakes. Run this pipeline:
- Generate at the model’s native resolution. Don’t ask the generator for 4K; it will give you a soft fake-4K. Generate at whatever the model does best (usually 512–1024px on the long edge) and save upscaling for later.
- Curate before you upscale. Watch the clip at native size. Kill bad takes now. Upscaling a clip you don’t love is burning time on footage you’ll delete.
- Clean frames first. Remove or fix problem frames while they’re still small: inpaint bad hands, replace cluttered backgrounds, stabilize shaky motion. Every defect you fix now is a defect the upscaler won’t amplify.
- Upscale once, at 2–4×. A 512px clip at 4× gives you 2048px — plenty. Chasing 4K from a 256px source asks the model to invent 16× the pixels; the invention shows. Two moderate passes beat one heroic one.
- Export once. Every re-export degrades quality. Upscale to your delivery resolution and export the final file in one step — don’t upscale, export, then re-export for the platform.
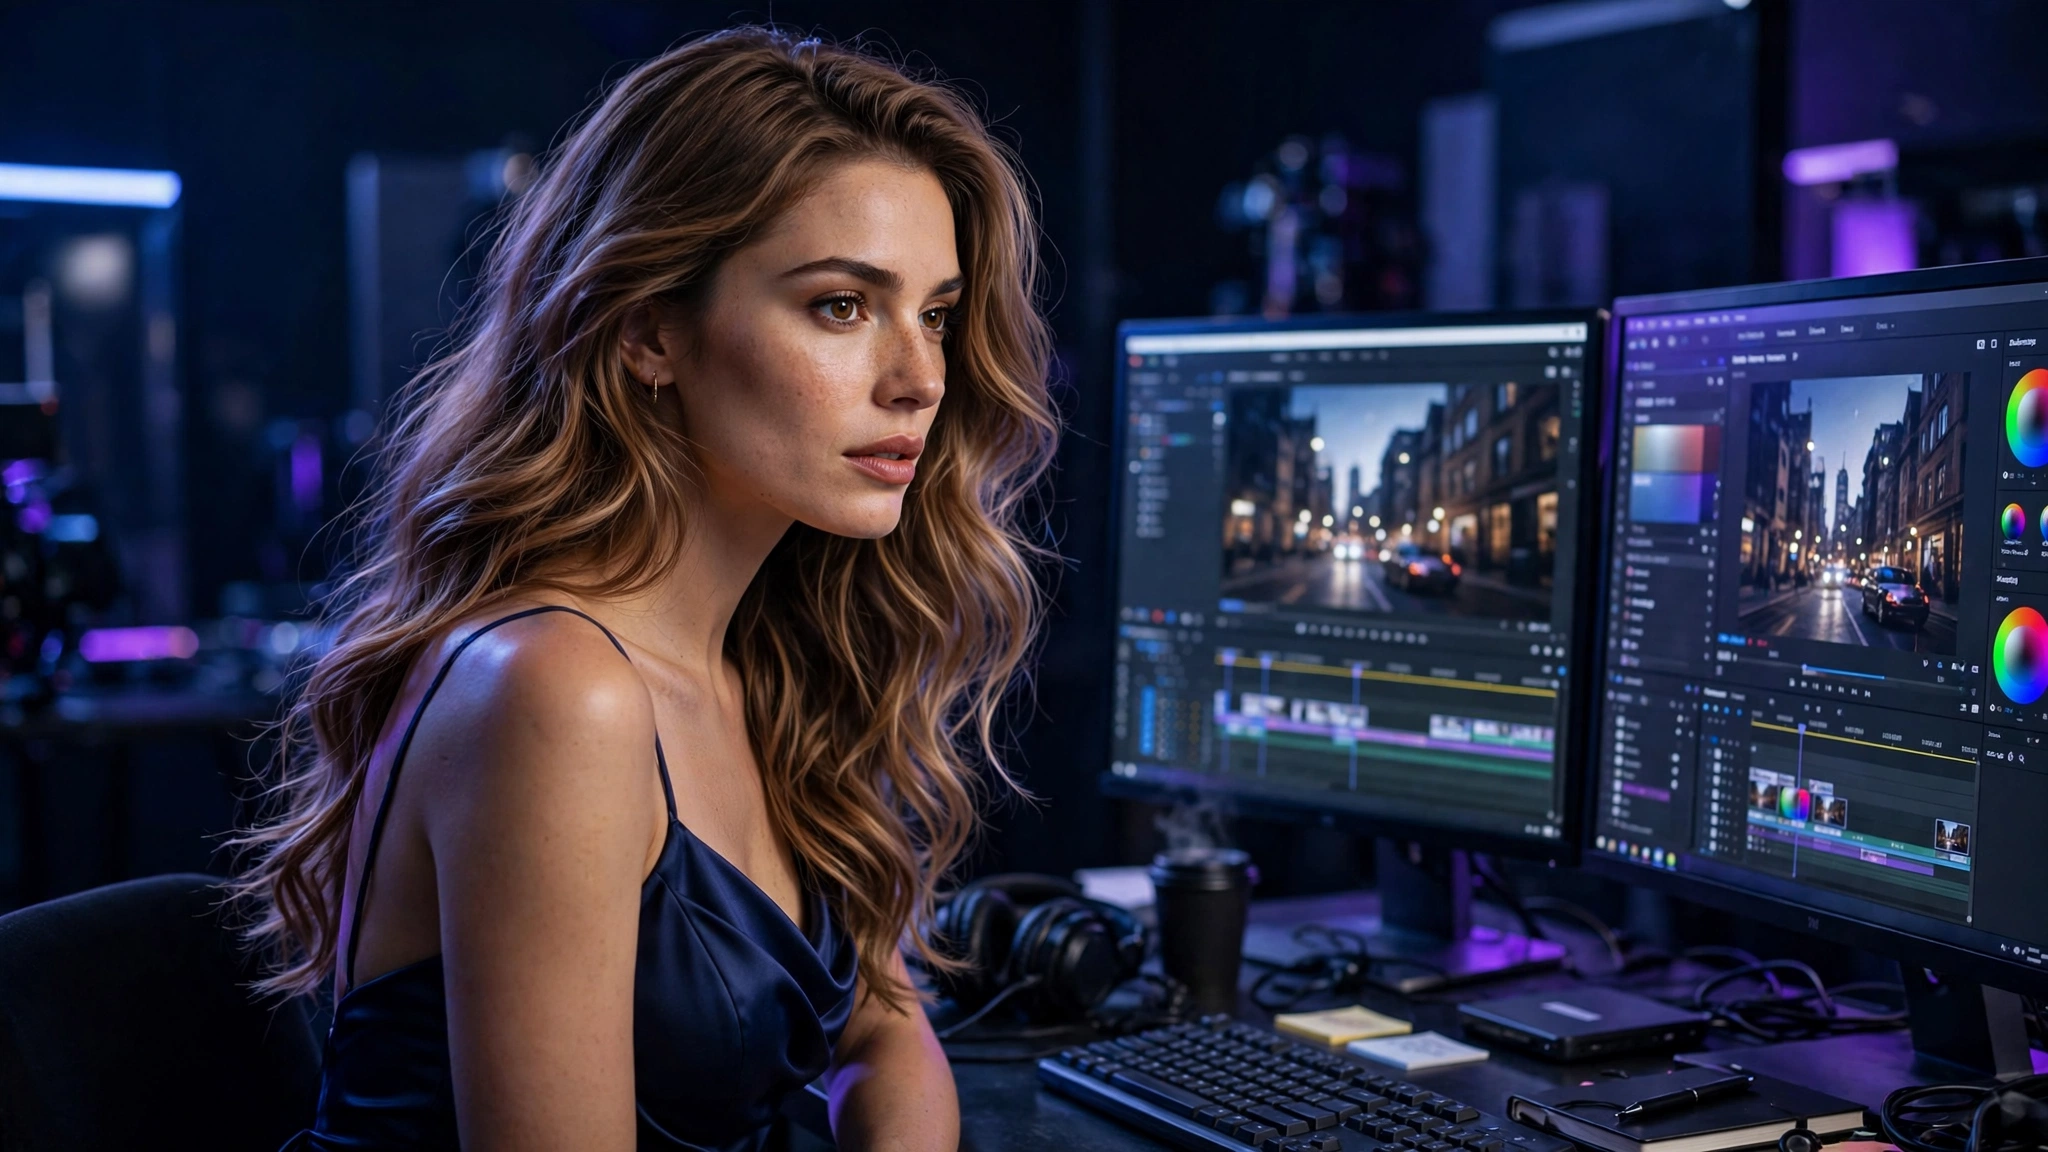
The credit math: upscaling is cheap compared to generation — it’s compute on existing pixels, not a new render. The expensive part is regenerating a clip because you upscaled a bad take. Cull ruthlessly at step 2 and the pipeline pays for itself.
5. Common Failures and How to Fix Them
| Failure | Cause | Fix |
|---|---|---|
| Flicker / shimmer | Frame-by-frame upscaling; detail changes randomly per frame | Switch to a temporal upscaler; or add temporal denoising after |
| Melted faces | Upscaler inventing detail it can’t see in small faces | Crop-and-upscale faces separately at higher strength; composite back |
| Waxy, over-smooth look | Too much denoising; detail setting too aggressive | Dial back denoising; add a touch of grain back in post |
| Ghosting on motion | Temporal model smearing detail across fast movement | Reduce temporal strength; split fast-motion sections out |
| Soft despite 4K output | Source too low-res for the upscale factor asked | Lower the target (2× instead of 4×); regenerate the source bigger |
| Color shifts | Upscaler re-grading frames inconsistently | Lock color pipeline; upscale before final color grade |
The faces rule: faces are where upscaling fails most visibly, because humans are hypersensitive to face wrongness. If your clip has a prominent face, treat the face as a separate job: crop it, upscale it with face-aware settings, and composite it back onto the temporally upscaled body. It’s fiddly, but a perfect body with a melted face is a wasted clip.
6. When Upscaling Isn’t Worth It
Upscaling is a finishing tool, not a rescue tool. Skip it when:
- The clip’s problems are structural. Bad motion, wrong anatomy, broken physics — upscaling makes a bad clip sharper, not better. Regenerate instead.
- The source is already at delivery resolution. Upscaling 1080p to “4K” for a platform that compresses everything to 1080p anyway buys you nothing but render time.
- You’re iterating on a draft. Upscale the final keeper, not the ten experiments. Work small, finish big.
- The detail was never there. A 256px face occupying 10% of the frame will never become a crisp close-up. No upscaler invents a face convincingly at 16× — accept the wide shot or regenerate closer.
The professional instinct to build: upscale last, upscale once, upscale only keepers. Everything else is wasted compute on pixels nobody will see.
7. The Honesty Rules
Upscaling sits at an interesting ethical spot: you’re improving your own synthetic content. The rules are simpler than for generation, but they exist:
- Fictional characters only. The same rule as every guide on this site: upscale AI clips of fictional adult characters. Don’t upscale real people’s videos into explicit content — resolution doesn’t change the consent equation.
- Label AI content as AI. An upscaled AI clip is still an AI clip. Platform disclosure rules (see our influencer guide) apply to the finished video, not just the generation step.
- Don’t fake provenance. “Upscaled to 4K” is honest. “Shot in 4K” is a lie. If resolution matters to your audience, say what the pipeline was.
- Keep your sources. Save the pre-upscale clip. If a platform questions the content or you need to re-edit, the small original is the one you want — re-upscaling an upscaled clip degrades fast.
None of this constrains the creative upside. A crisp 4K AI clip that started as a 512px experiment is one of the most satisfying transformations in this whole workflow — just keep the pipeline honest and the characters fictional.
8. FAQ
What is an AI video upscaler?
Software that rebuilds a low-resolution video at higher resolution using AI models — sharpening detail and reducing noise while keeping motion consistent across frames. It’s a reconstruction pass, not a recovery of lost quality.
Can AI really turn a 720p AI clip into 4K?
It can output a 4K file, but the detail is reconstructed, not recovered. A 2–3× upscale of a clean source looks genuinely good; pushing a tiny source to 4K produces invented detail that falls apart on faces and fine texture.
Frame-by-frame or temporal upscaler — which is better?
Temporal for clips over ~10 seconds or batch work — far less flicker. Frame-by-frame when you need per-frame control, like fixing individual bad frames before reassembly. The hybrid (fix frames, then temporal pass) is the professional standard.
Why does my upscaled video flicker?
Almost always frame-by-frame upscaling: each frame gets slightly different invented detail, which shimmers in motion. Switch to a temporal upscaler, or add temporal denoising as a post pass.
How long does upscaling a short clip take?
It varies with resolution, length, model, and hardware — seconds per frame on a good GPU, much longer on CPU. Budget more time than generation took; batch overnight for long clips.
Is it okay to upscale a real person’s video?
Upscaling itself is neutral, but the consent rules don’t change with resolution — never upscale real people’s footage into explicit or misleading content without consent. Keep this workflow to fictional adult characters.
{“@context”: “https://schema.org”, “@type”: “FAQPage”, “mainEntity”: [ {“@type”: “Question”, “name”: “What is an AI video upscaler?”, “acceptedAnswer”: {“@type”: “Answer”, “text”: “Software that rebuilds a low-resolution video at higher resolution using AI models — sharpening detail and reducing noise while keeping motion consistent across frames. It’s a reconstruction pass, not a recovery of lost quality.”}}, {“@type”: “Question”, “name”: “Can AI really turn a 720p AI clip into 4K?”, “acceptedAnswer”: {“@type”: “Answer”, “text”: “It can output a 4K file, but the detail is reconstructed, not recovered. A 2-3x upscale of a clean source looks genuinely good; pushing a tiny source to 4K produces invented detail that falls apart on faces and fine texture.”}}, {“@type”: “Question”, “name”: “Frame-by-frame or temporal upscaler — which is better?”, “acceptedAnswer”: {“@type”: “Answer”, “text”: “Temporal for clips over ~10 seconds or batch work — far less flicker. Frame-by-frame when you need per-frame control, like fixing individual bad frames before reassembly.”}}, {“@type”: “Question”, “name”: “Why does my upscaled video flicker?”, “acceptedAnswer”: {“@type”: “Answer”, “text”: “Almost always frame-by-frame upscaling: each frame gets slightly different invented detail, which shimmers in motion. Switch to a temporal upscaler, or add temporal denoising as a post pass.”}}, {“@type”: “Question”, “name”: “How long does upscaling a short clip take?”, “acceptedAnswer”: {“@type”: “Answer”, “text”: “It varies with resolution, length, model, and hardware — seconds per frame on a good GPU, much longer on CPU. Budget more time than generation took; batch overnight for long clips.”}}, {“@type”: “Question”, “name”: “Is it okay to upscale a real person’s video?”, “acceptedAnswer”: {“@type”: “Answer”, “text”: “Upscaling is neutral, but consent rules don’t change with resolution — never upscale real people’s footage into explicit or misleading content without consent. Keep this workflow to fictional adult characters.”}} ]}