How AI Image Upscaling Works (2x/4x/8x) — and When It Saves a Generation
October 6, 2026
You’ve just generated the perfect image — the pose, the lighting, the composition, everything clicks. Then you zoom in, and the illusion shatters: soft edges, smeared skin texture, hands that dissolve into a blur. Your “masterpiece” falls apart the moment anyone looks closely.
This is the single most common frustration with AI-generated imagery. Generators are optimized to produce a pleasing overall composition at modest resolutions; they are not optimized to survive a fullscreen view or a print. That’s exactly the gap an AI image upscaler fills — taking a good generation and rebuilding it at 2x, 4x, or even 8x the resolution, adding plausible detail that was never in the original pixels.
In this guide, you’ll learn how upscaling actually works (traditional interpolation versus AI super-resolution), what the 2x/4x/8x settings really do, when each one is the right call, and the specific ways upscaling rescues AI-generated adult art — from fixing soft anatomy to breathing new life into old generations. Every concept below applies to any upscaler, and you can try SpicyLab’s AI Image Upscaler yourself — one free preview per IP, no watermark, no sign-up needed for the trial.
What an Upscaler Actually Does
At the most basic level, upscaling makes an image bigger. A 512×512 image becomes 1024×1024 (2x), 2048×2048 (4x), or 4096×4096 (8x). But “bigger” is easy — any photo editor can stretch pixels. The hard part is making the bigger version look good, and that’s where the method matters enormously.
Traditional Interpolation vs. AI Super-Resolution
There are two fundamentally different approaches to enlarging an image, and confusing them is why so many people are disappointed by “upscaling.”
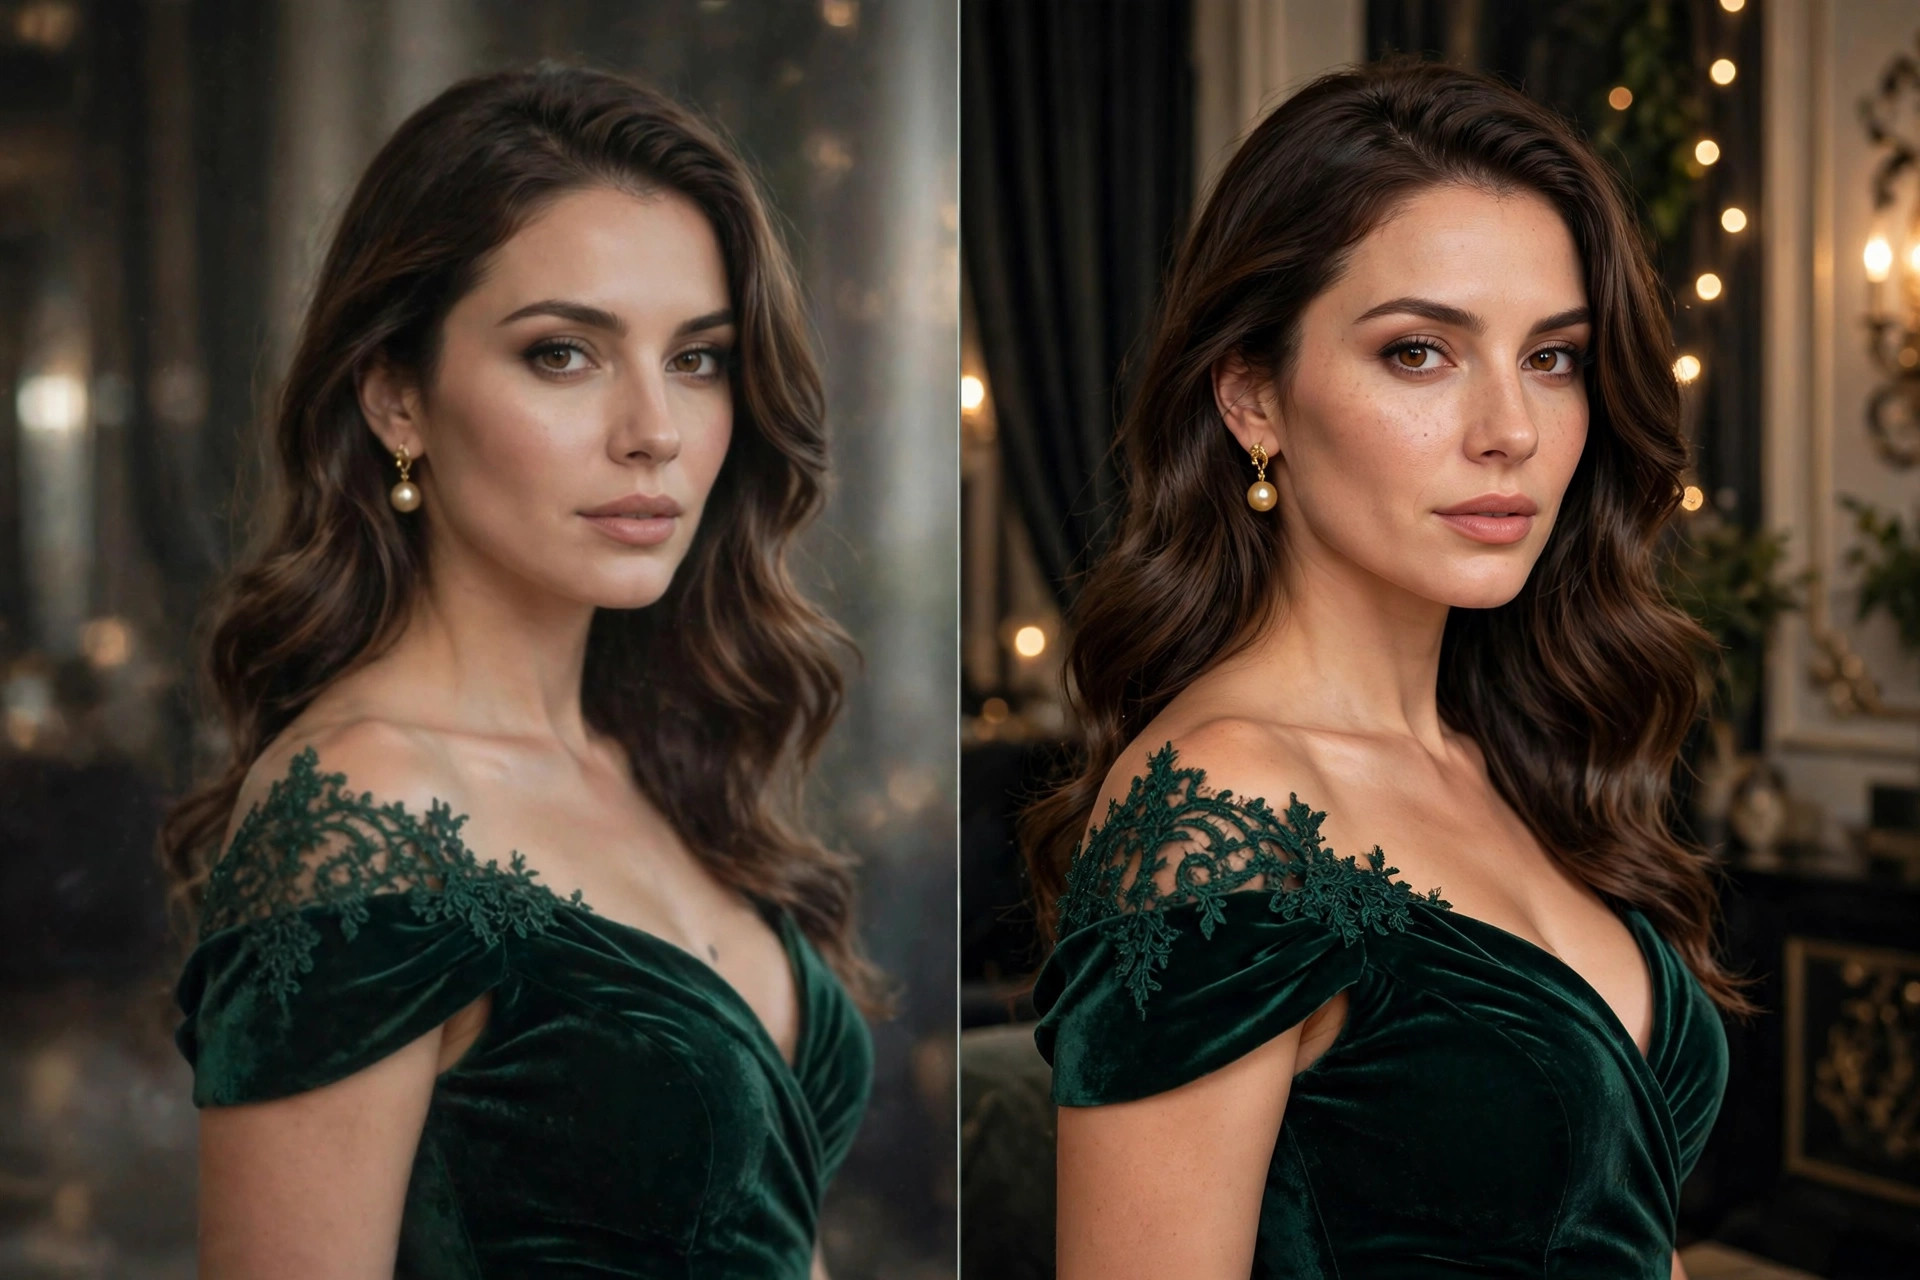
Traditional interpolation (bicubic, Lanczos, and their cousins) is pure mathematics. When you double an image’s size, the software has to invent three new pixels for every original one, and it does so by averaging the neighbors — blending the colors of surrounding pixels to guess what should go between them. The result is mathematically larger but visually softer: edges blur, textures smear, and fine detail doesn’t appear — because no detail was ever added. Interpolation redistributes the information you already had. It cannot create new information.
AI super-resolution works completely differently. A neural network trained on millions of high-resolution images has learned what real-world detail looks like — how skin pores are distributed, how individual hair strands fall, how fabric weaves catch light. When it upscales your image, it doesn’t average pixels; it reconstructs them, predicting the most plausible high-resolution version of each region. The model is effectively saying: “given this blurry patch of skin tone, here’s what sharp skin at 4x resolution most likely looks like.”
The practical difference is night and day:
| Traditional Interpolation | AI Super-Resolution | |
|---|---|---|
| How it works | Averages neighboring pixels | Neural network reconstructs plausible detail |
| New detail | None — only redistribution | Yes — predicted from training data |
| Edges | Progressively softer | Re-sharpened and refined |
| Texture (skin, hair, fabric) | Smeared | Rebuilt with realistic grain |
| Best for | Quick resizes, simple graphics | Photos, portraits, AI-generated art |
| The catch | Looks blurry when enlarged | Can “hallucinate” details that weren’t there |
That last row deserves emphasis: AI upscaling invents detail. It invents it well — usually indistinguishable from real detail — but it is still invention. An upscaler can sharpen a face beautifully and also, occasionally, change the shape of an earring or add a texture pattern that wasn’t in the original. Understanding this is the key to using upscalers well: they enhance, but they also interpret.
2x vs 4x vs 8x: What the Settings Actually Mean
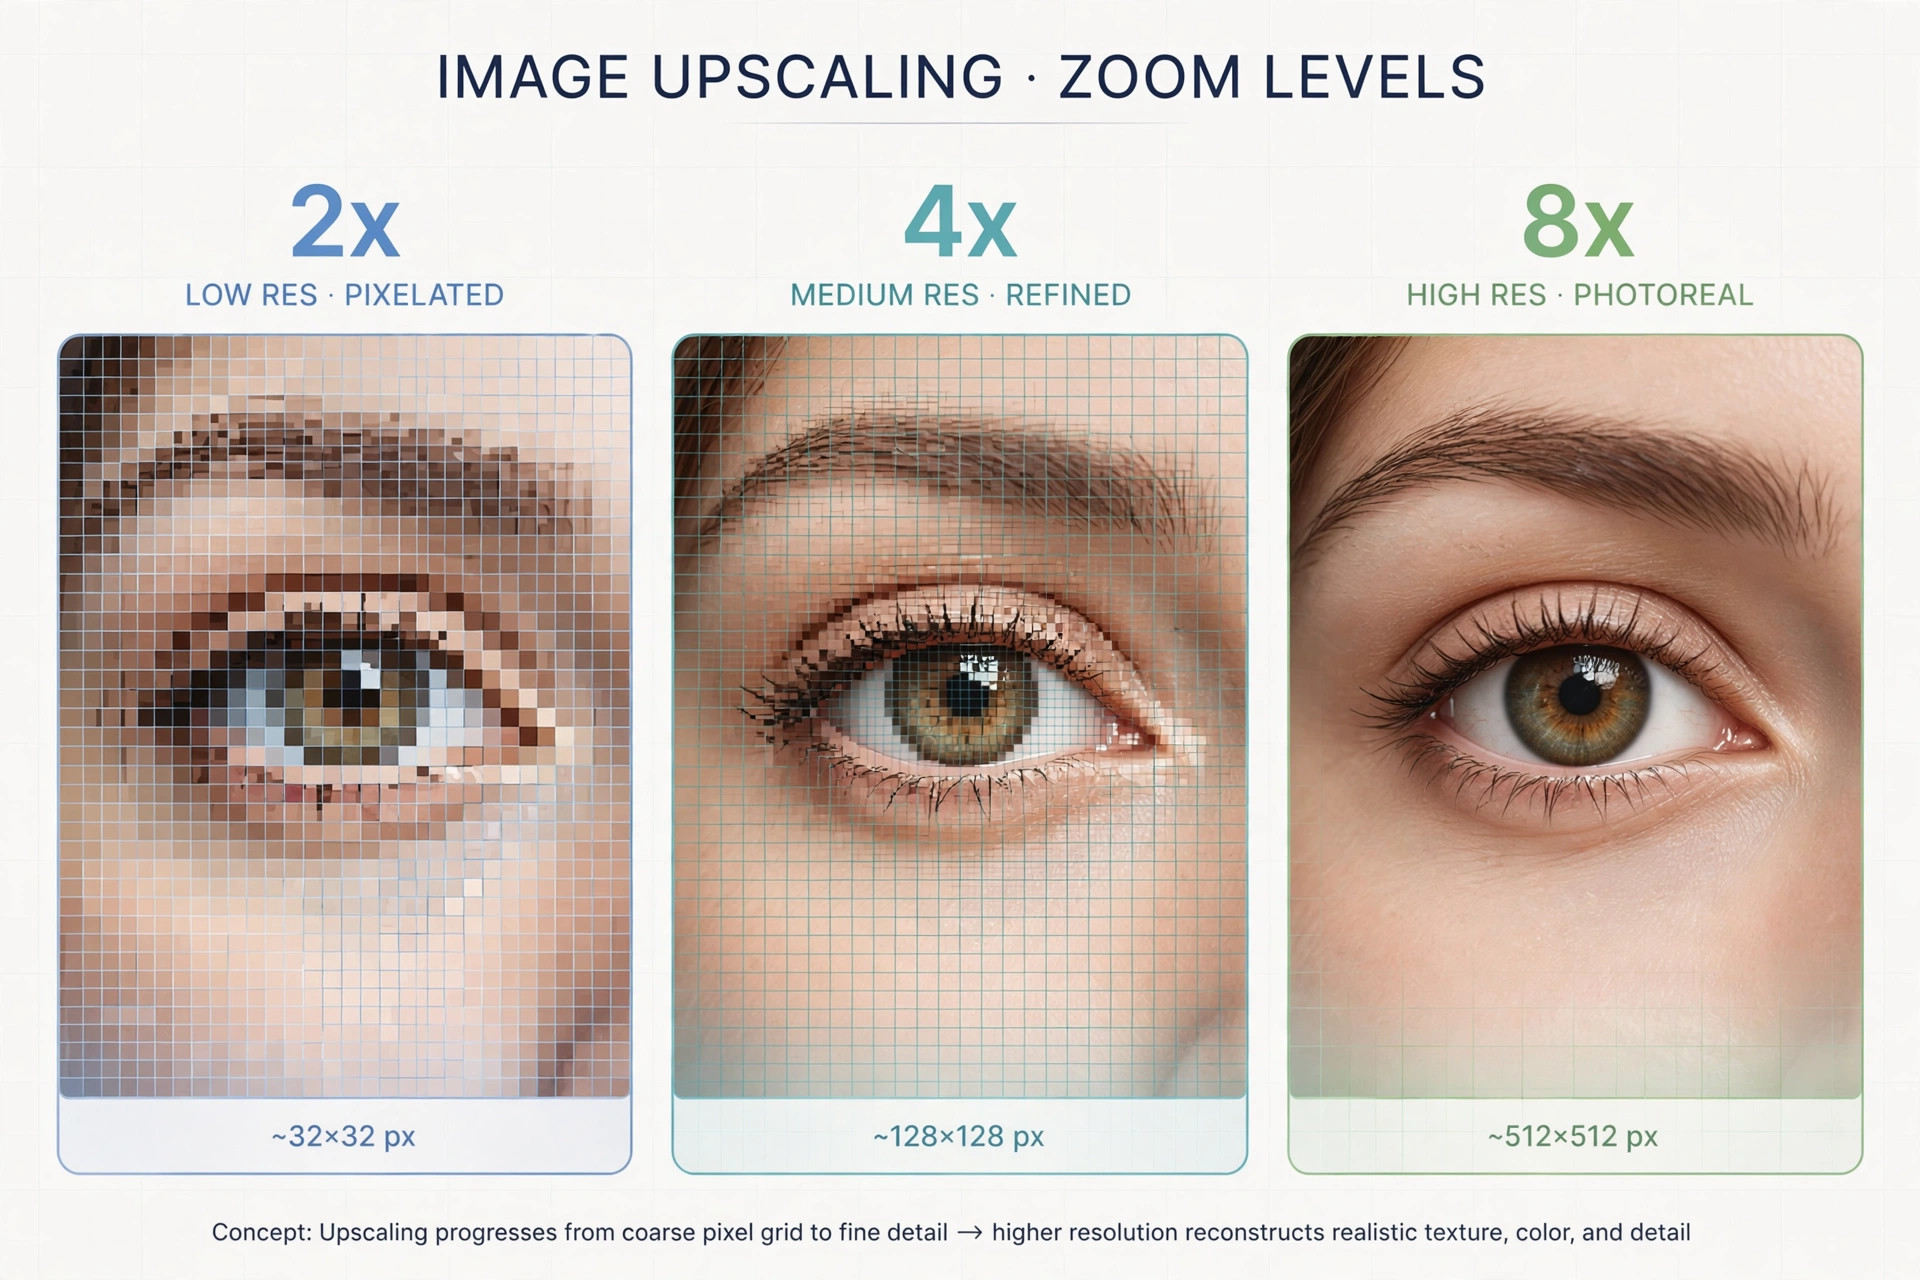
Upscale factors multiply each dimension of your image. The numbers sound modest until you do the pixel math:
- 2x — each side doubles, so total pixels quadruple. A 512×512 image becomes 1024×1024 (0.26 MP → 1.05 MP).
- 4x — each side quadruples, so total pixels multiply by 16. That same 512×512 becomes 2048×2048 (0.26 MP → 4.19 MP).
- 8x — each side octuples, total pixels multiply by 64. 512×512 becomes 4096×4096 (0.26 MP → 16.78 MP).
The jump from 4x to 8x is enormous — and that matters, because bigger is not automatically better.
When to use 2x
2x is your everyday workhorse. It’s enough to take a standard AI generation (typically 512×512 or 1024×1024) to a resolution that looks crisp on a phone or laptop screen. The AI has to invent relatively little — doubling is a modest reconstruction task — so 2x upscales are the most faithful to the original. Rule of thumb: if the image will be viewed on a screen, 2x is usually all you need.
When to use 4x
4x is the sweet spot for “hero” images — the keepers you want to showcase, post at full size, or use as wallpapers and avatars. At 2048×2048, skin texture, hair strands, and fabric detail get fully reconstructed, and the image survives close inspection. 4x asks more of the AI (16x the pixels), so run it on images that are already clean — upscaling amplifies everything, including flaws. Rule of thumb: 4x for your best images, after you’ve checked them for anatomy glitches at 2x first.
When to use 8x
8x is a specialist tool, not a default. Legitimate uses: preparing an image for large-format printing, or rescuing a tiny source (a 256×256 thumbnail) that needs to become usable. The risk is that at 64x the pixel count, the AI is inventing most of what you see — faces can subtly shift, backgrounds can gain details that change the composition, and the “hallucination” effect from the table above becomes visible. Rule of thumb: 8x only when you genuinely need the pixels (print, extreme crop), and inspect the result closely before keeping it.
| Factor | 512×512 → | Faithfulness | Best use case |
|---|---|---|---|
| 2x | 1024×1024 | ★★★★★ | Screen viewing, everyday keepers |
| 4x | 2048×2048 | ★★★★☆ | Showcase images, wallpapers, avatars |
| 8x | 4096×4096 | ★★★☆☆ | Print, extreme crops, tiny sources |
Why Upscaling Matters More for AI-Generated Adult Art
Upscaling helps every kind of image, but AI-generated adult art benefits disproportionately. Here’s why:
1. It rescues soft anatomy. AI generators are weakest at fine detail — fingertips, eyelashes, jewelry, lace, hair strands. These are exactly the details AI upscalers are trained to reconstruct. A generation with a great composition but mushy hands often comes back from a 4x upscale with convincingly rebuilt fingers. It won’t fix a truly broken hand (six fingers will just become six sharper fingers), but it routinely saves the “almost perfect” images that would otherwise be discarded.
2. It exposes flaws before you invest. This is the flip side, and it’s just as valuable. Upscaling is the ultimate quality-control step: problems invisible at 512×512 — a slightly melted ear, asymmetric eyes, background artifacts — become obvious at 2048×2048. Run a 2x upscale as a diagnostic before you spend time refining or sharing an image. If it survives the upscale clean, it’s a genuine keeper.
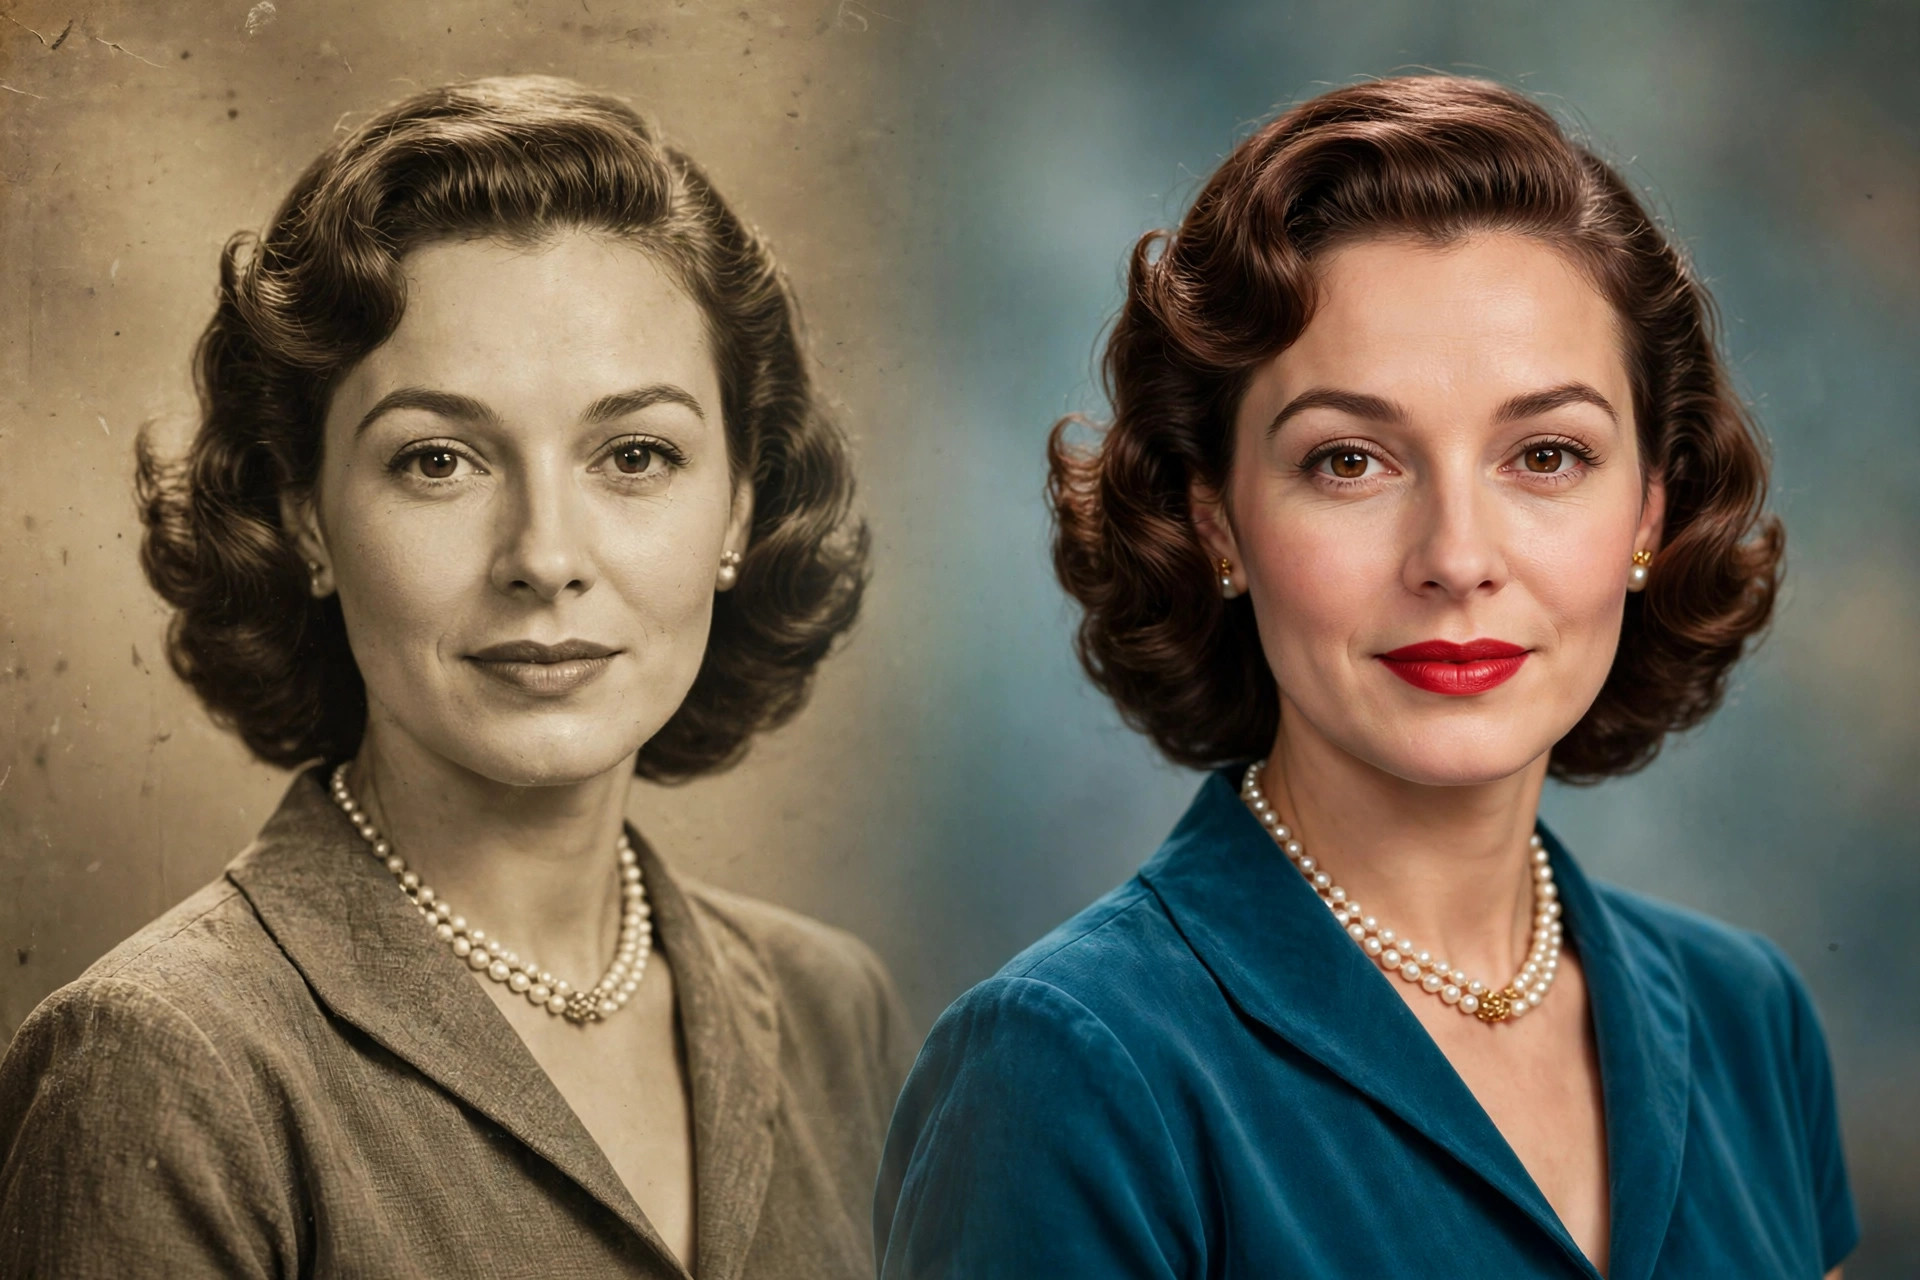
3. It gives old generations a second life. If you’ve been generating for a while, you have a library of images made at lower resolutions or with older models. Upscaling lets you revisit your favorites and bring them up to current quality standards without regenerating — particularly valuable for character portraits you want to keep consistent across a series.
4. Photorealistic style needs it most. As our art styles guide explains, photorealistic images show every flaw and demand the most refinement. They’re also the style where upscaling pays off biggest: reconstructed skin texture and hair detail are what separate “AI-looking” from “could be a photograph.” If you generate realistic style, upscaling isn’t optional — it’s part of the workflow.
SpicyLab’s AI Image Upscaler
SpicyLab’s AI Image Upscaler is one of the eight tools built into the platform, designed to slot directly into a generation workflow: generate an image with the AI porn generator, and when you land a keeper, send it to the upscaler instead of starting over at higher resolution (which costs more and rarely reproduces the composition you liked).
The workflow that works best:
- Generate at standard resolution first. Iterate cheaply on composition, pose, and style — don’t pay for pixels until the image is worth it.
- Curate ruthlessly. Pick the one or two keepers from a batch. Upscaling everything is wasted credits.
- Run a 2x diagnostic. Check the upscaled version for anatomy glitches and artifacts before committing to 4x.
- Go 4x on the winners. Your showcase images get the full treatment; everything else stays at 2x.
This “generate cheap, upscale the winners” approach is also the most credit-efficient way to get high-resolution results. Generating directly at maximum resolution costs more per attempt and multiplies the cost of every discarded variation. Upscaling only the keepers concentrates your spending where it shows.
Like everything on SpicyLab, the upscaler comes with a free trial — one free preview per IP with no watermark, so you can test it on your own image before spending anything. Paid use runs on the standard credit system ($19.99 for a 1000-credit one-time pack, no subscription), and failed jobs are automatically refunded.
Practical Tips for Better Upscales
- Start from the cleanest source. Upscaling can’t fix compression artifacts, heavy JPEG noise, or screenshots — it will faithfully reconstruct the noise along with the image. Use the original generation file, not a re-saved copy.
- Don’t upscale twice. Going 2x then 2x again compounds the AI’s inventions and drifts further from the original than a single 4x pass. Pick your target factor and do it once.
- Watch faces at 8x. High-factor upscales can subtly alter facial identity — fine for a standalone image, risky if the face needs to match a character series. Compare side by side before keeping.
- Anime and 3D need less. Stylized art has less fine texture to reconstruct, so 2x is usually plenty — 4x on anime mostly just makes clean lines cleaner. Save the heavy upscaling for photorealistic work.
- Upscale before cropping, not after. If you want a tight crop of a detail (a face from a full-body shot), upscale the full image first, then crop. Cropping a small region and upscaling it gives the AI far less context to work with.
- Keep the original. Always keep the pre-upscale file. If a future upscaler is better — and they keep getting better — you can re-run the original instead of upscaling an upscale.
FAQ
Does upscaling actually add detail, or just make the image bigger?
AI super-resolution genuinely adds detail — the neural network predicts plausible high-resolution texture (skin pores, hair strands, fabric weave) based on patterns learned from millions of images. Traditional interpolation (bicubic/Lanczos) only makes the image bigger by averaging existing pixels, which is why it looks blurry. The catch: AI-invented detail is a prediction, not a recovery of “true” pixels, so it can occasionally hallucinate.
Should I use 2x, 4x, or 8x?
2x for everyday screen viewing (most faithful to the original), 4x for showcase images, wallpapers, and avatars (the sweet spot for detail), 8x only for print or extreme crops (most invention, check the result closely). Don’t upscale twice — pick your target factor and do it in one pass.
Can upscaling fix bad anatomy in my AI generations?
Partially. It reliably rescues soft anatomy — mushy fingers, blurry eyelashes, smeared jewelry — by reconstructing plausible detail. It cannot fix structurally wrong anatomy: six fingers become six sharper fingers. Use a 2x upscale as a diagnostic step to catch structural problems before investing further.
Why do my upscaled faces sometimes look different from the original?
Because the AI is inventing detail, and at high factors (especially 8x) the invented portion dominates. Small shifts in facial features are normal. If the face must match a character series, stick to 2x or 4x and compare side by side before keeping the result.
Is it cheaper to generate at high resolution directly, or generate small and upscale?
Generate small and upscale the winners. High-resolution generation costs more per attempt and multiplies the cost of every discarded variation. Upscaling only your curated keepers concentrates spending where it shows — and failed upscales on SpicyLab are auto-refunded.
Can I upscale old images I generated months ago?
Yes — and it’s one of the best uses of an upscaler. Dig out your favorite older generations and run them through a modern upscaler; the quality jump is often dramatic, especially for photorealistic portraits. Keep the originals, so you can re-run them again as upscalers improve.